micarta press
Being in Australia, we have a low availability and high price of micarta blocks. My goal was to be able to make my own composites for a reasonable price and variable size. I believe I have achieved that.
Starting with the size, I wanted something that would yield multiple blanks but still be able to be pressed with small clamps. I found the ideal size for this mould to be an A5 sheet with a little extra breathing room for any sort of size discrepancies.
The next problem to solve would be the material choice for the moulds, and their thickness. There were some strong contenders for the title, but since I know a guy who knows a guy with access to 16mm aluminium plate, I used that. It allows the mold to be:
Scuffed and polished to resist the epoxy from sticking to it,
Sealed, so nothing soaks into it and can inhibit/taint future mixes, and
Tapped and screwed together with thick bolts to allow significant pressure to be applied without need for sealants or glues.
With the ideas in place, I started to draw it up.
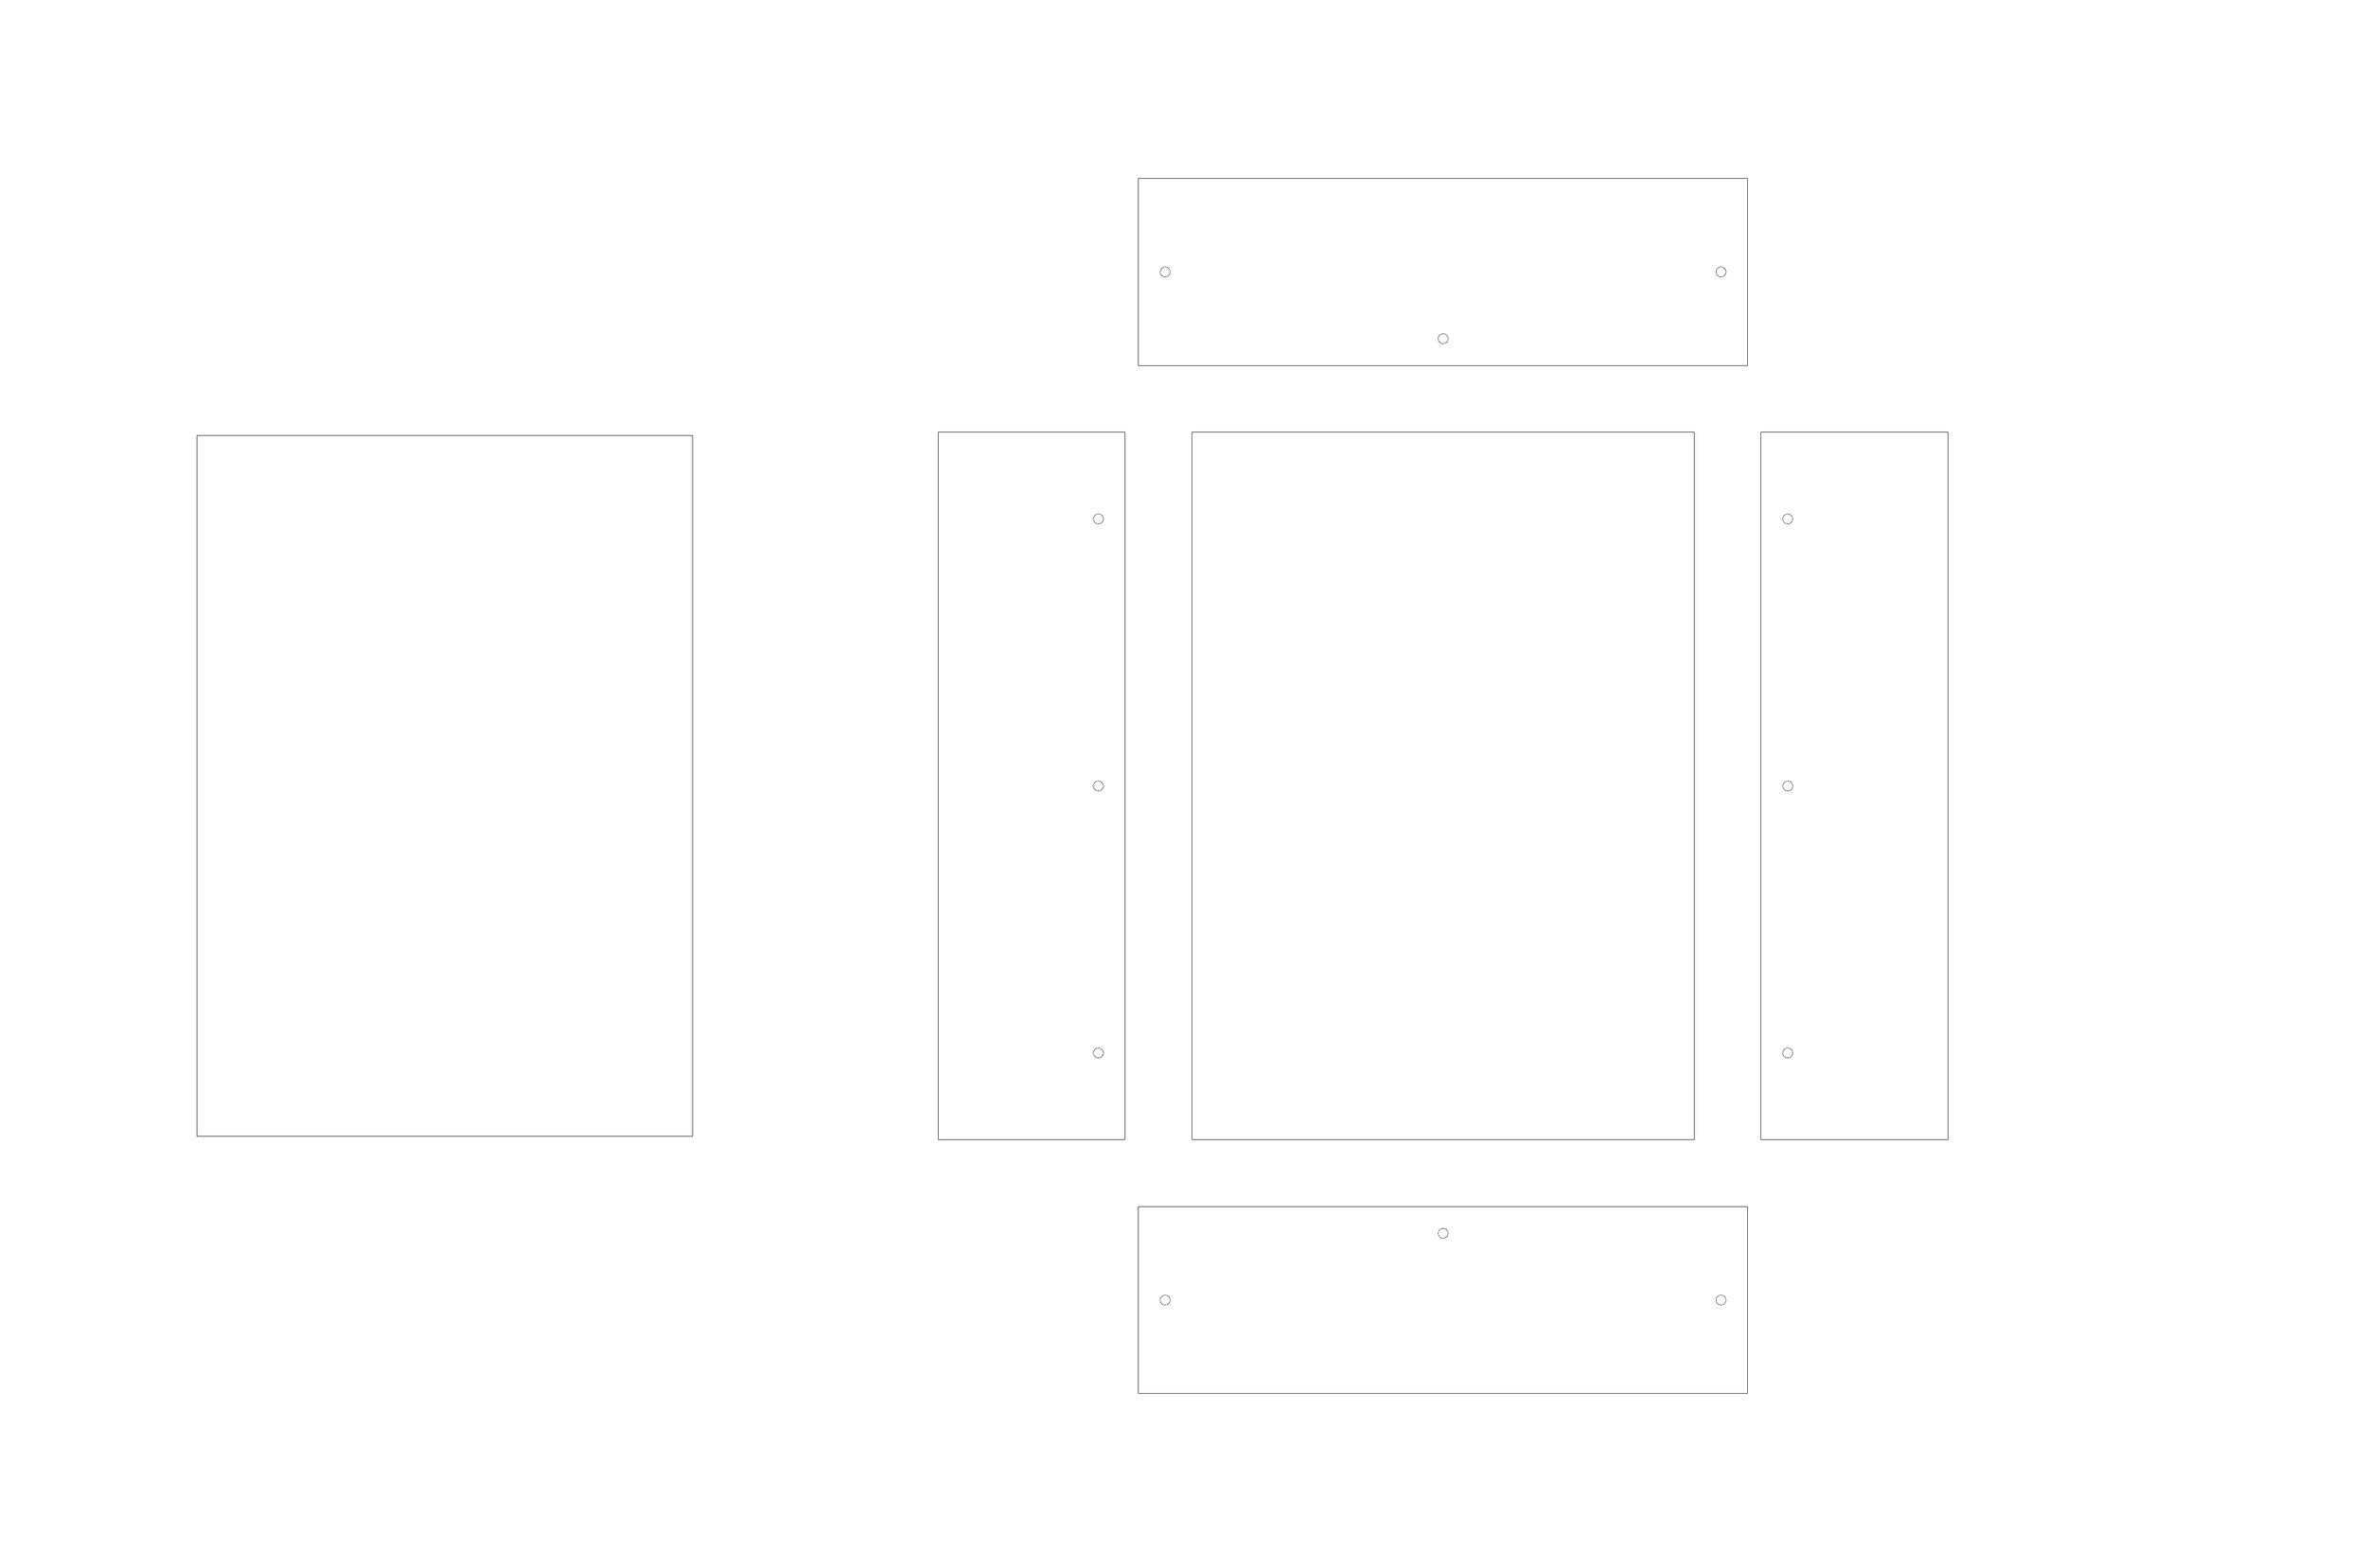
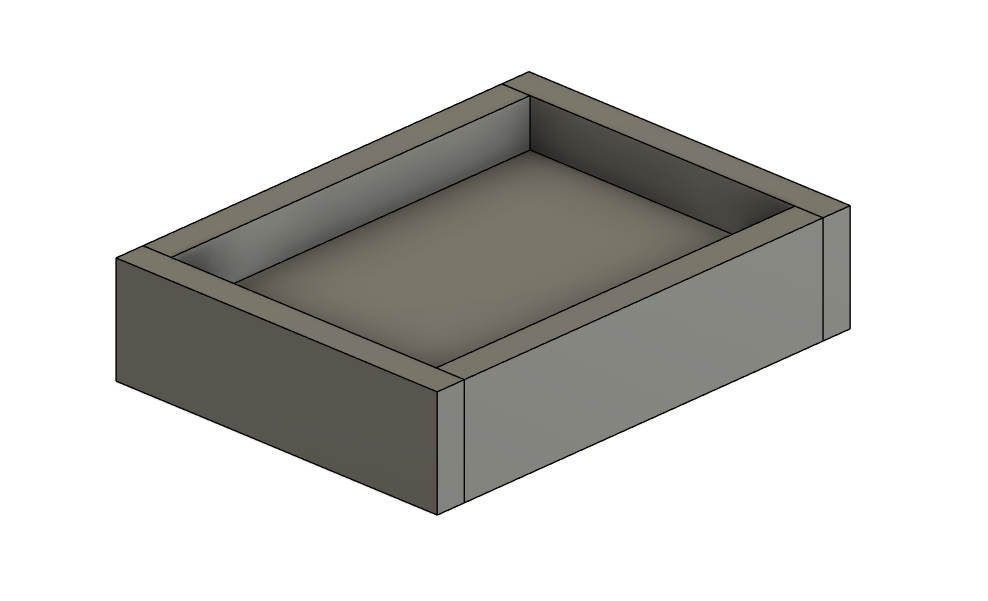
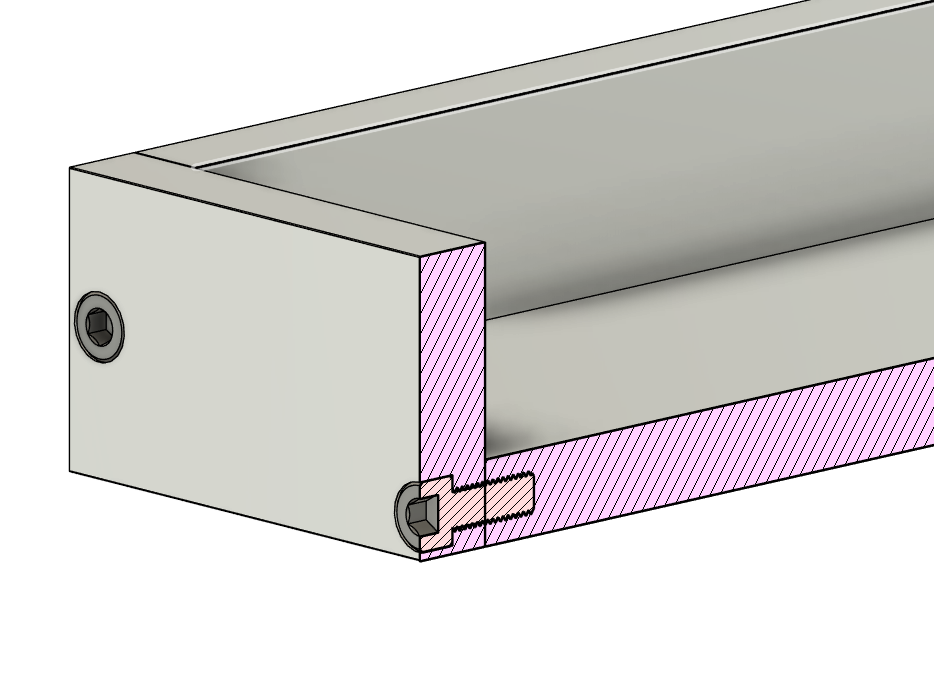

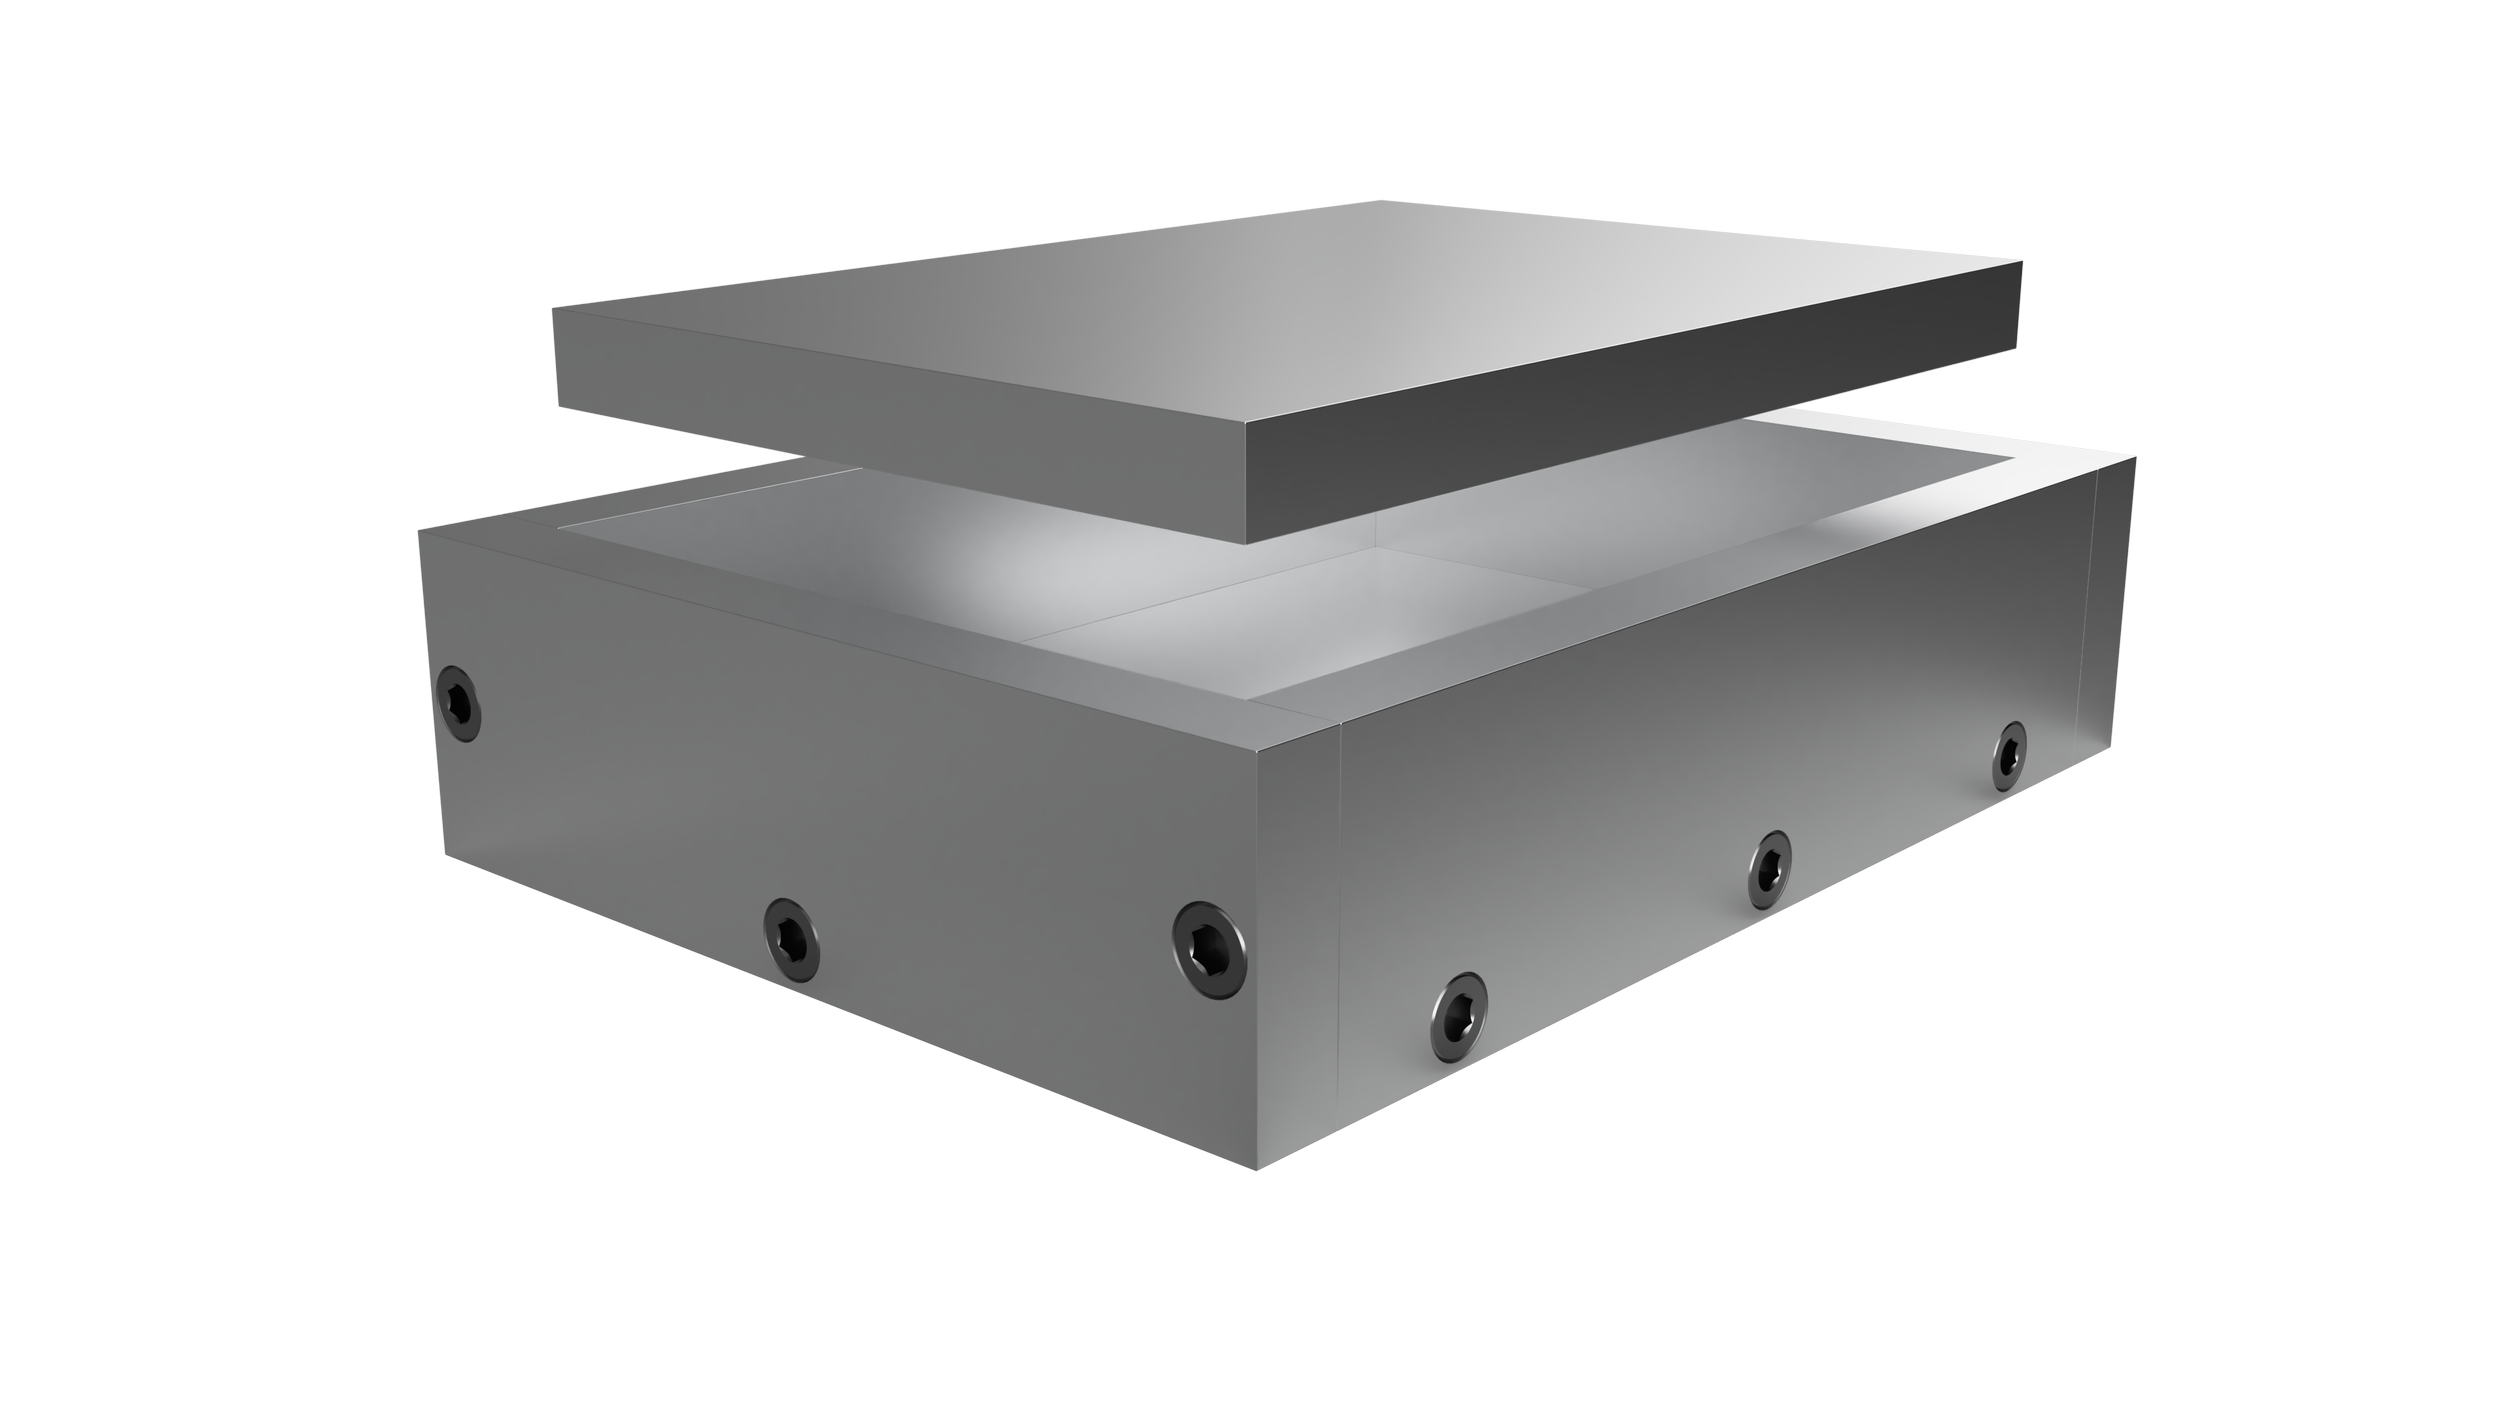
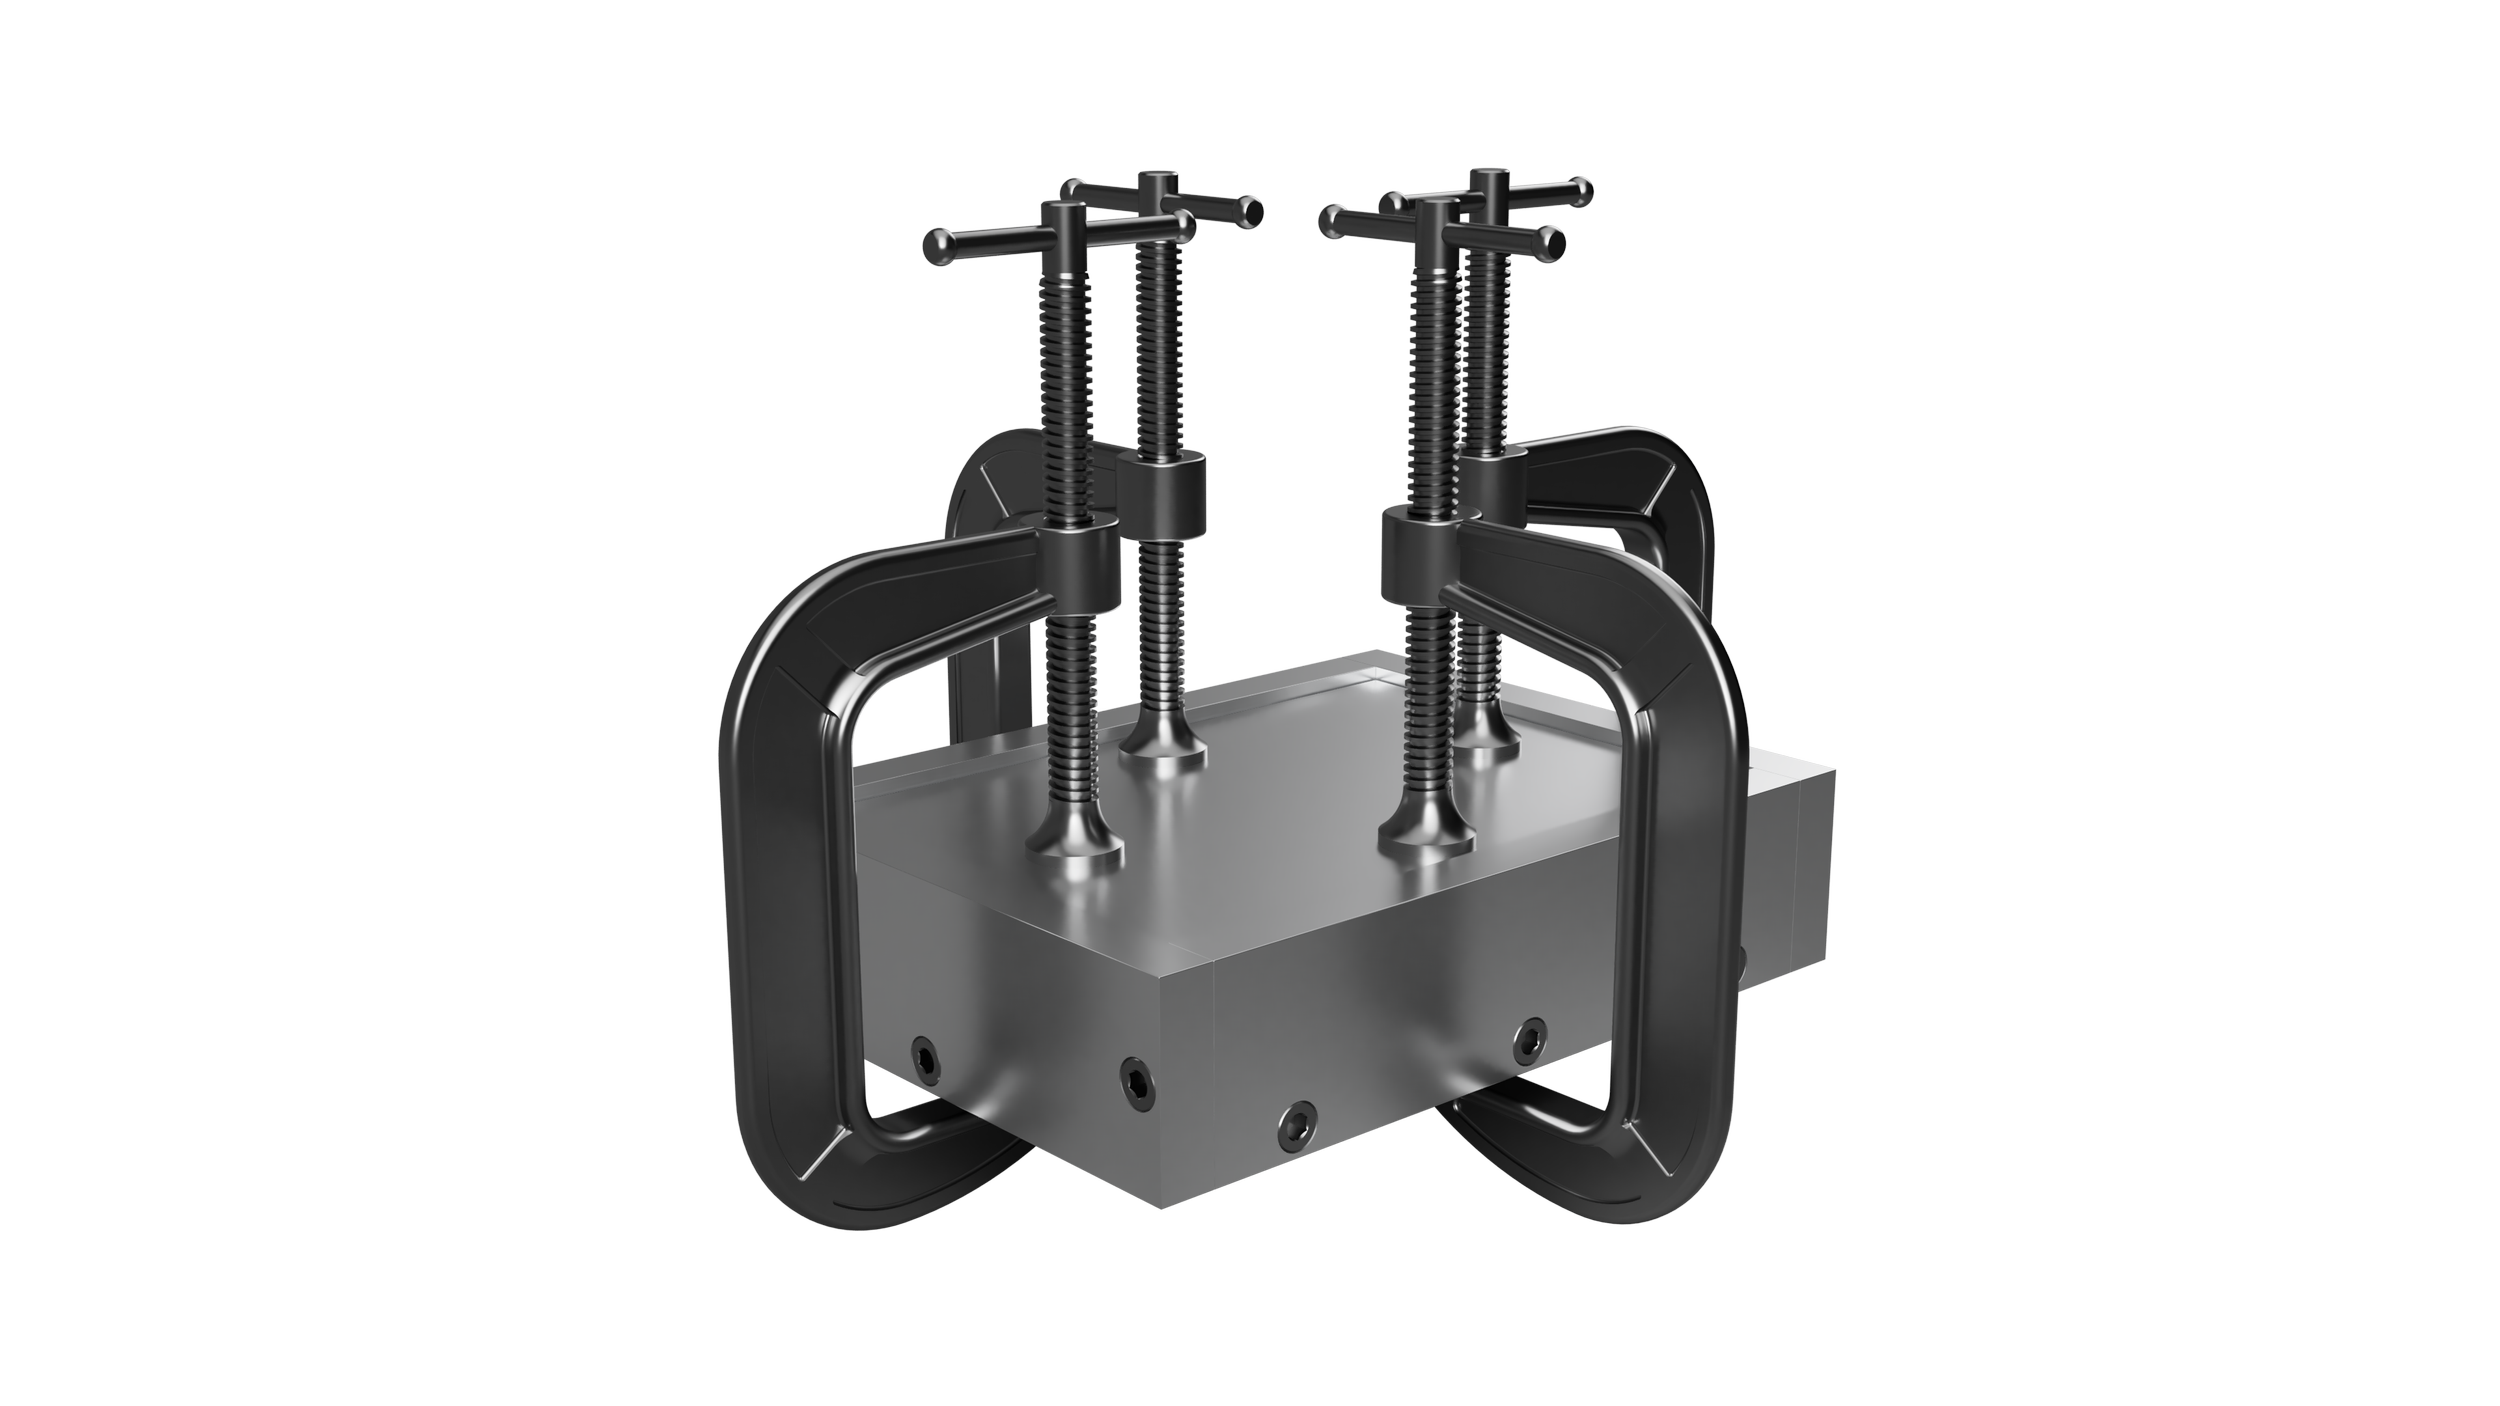
Remember kids, measure twice, cut once. The first version was drawn in a rush and was cut with the wrong size ends, so I had to recut them. This was easily avoidable if I’d taken an extra 10 seconds to really think about how it would go together, but these things happen.
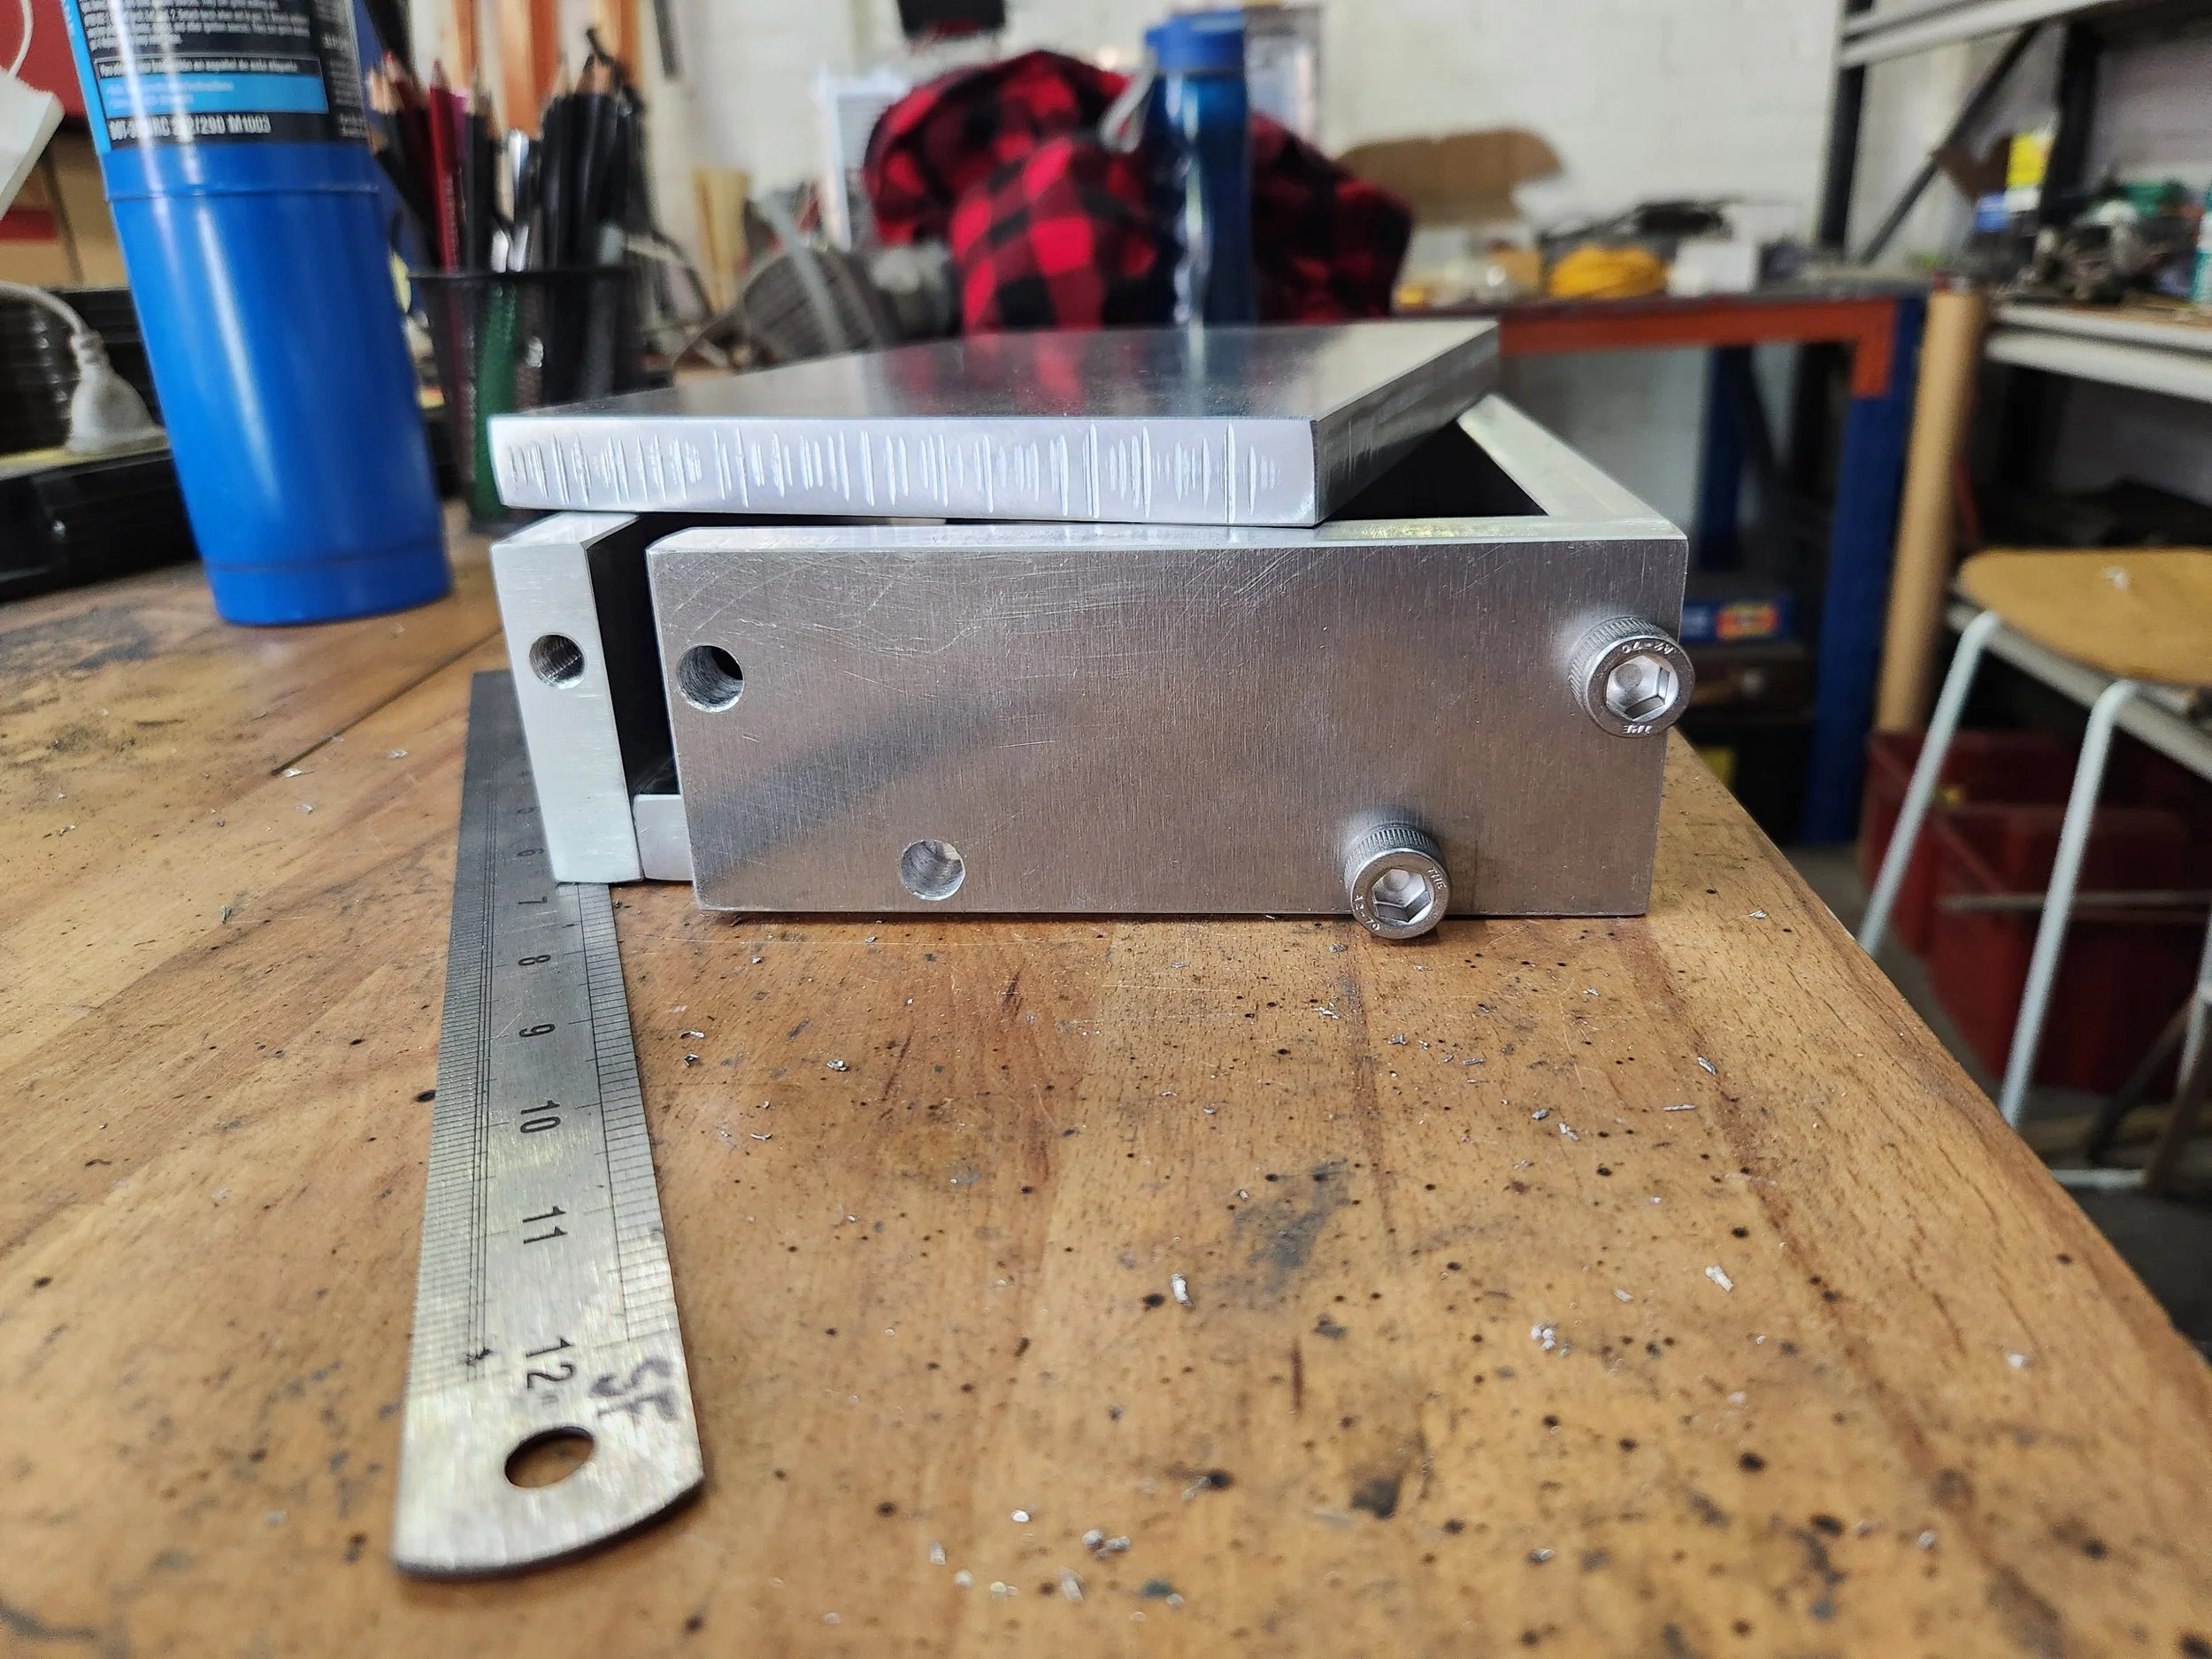
With all that sorted, I cut a couple of new ends and got to work. Since I don’t have a mill at the time of making and writing, I marked out the surfaces and drilled them on the drill press.
I decided to go with M10 hardware, which needed an 8.5mm tap hole size and 10.5mm clearance. Something I had to keep in mind while making this was that it was bespoke, and so not all the measurements would line up perfectly. The first fit-up of the whole device was great, but when I disassembled it and flipped parts around to check overall tolerances, it didn’t fit. The hole pitch turned out alright on the base but the sides weren’t quite right. This was solved by drilling out the clearance holes to 11.5 and not looking too closely at the sloppy fit. It didn’t leak too much so it wasn’t a problem. In future I’ll borrow a friends mill and use a bit more precision to get with my accuracy goals.
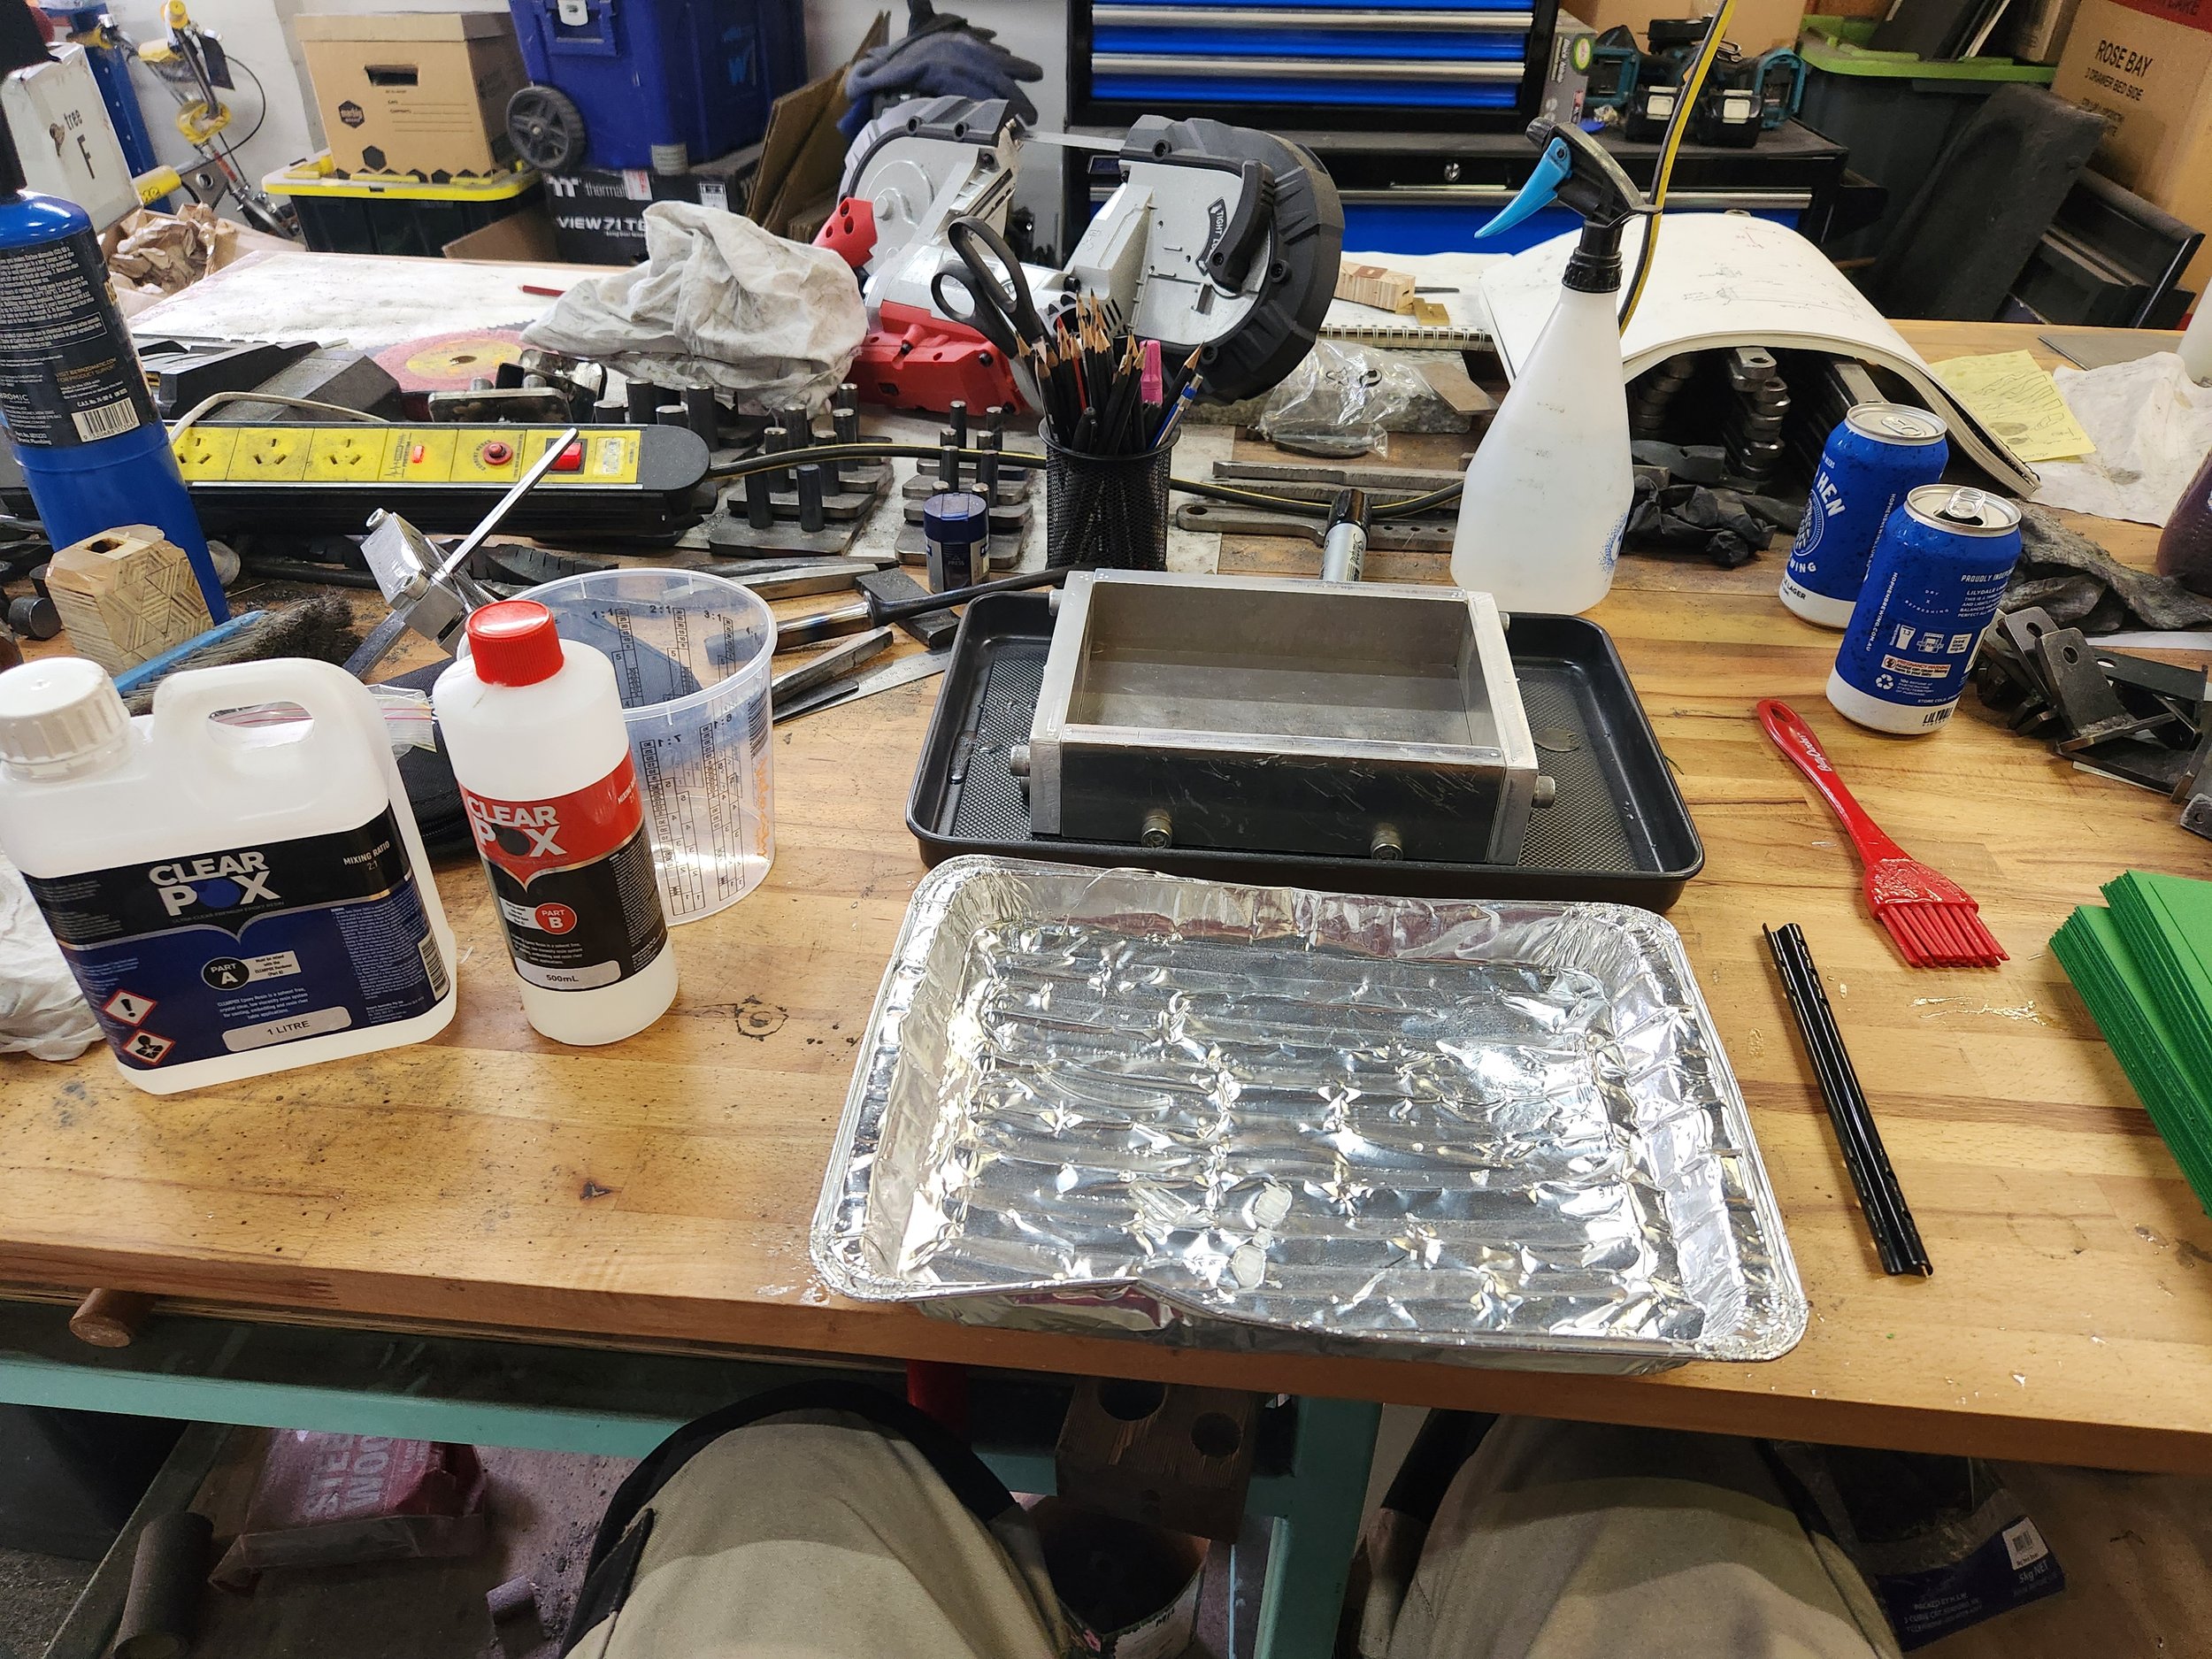
Next up was the first poor. There was an enormous range of epoxies available, so I started ruling them in/out by price, properties, clarity, availability, and company ethics. I decided to go with the ClearPox Ultraclear 1.5L kit. This material stays clear in UV, is durable as the dickens, has a reasonable price, and the parent company seems to have good environmental/sustainability goals and practices.
Below are photos of the first batch using 300gsm white paper, and the second batch using emerald green paper. The first batch was a little skinny, but the second one was about as thick as I was looking for at the time.
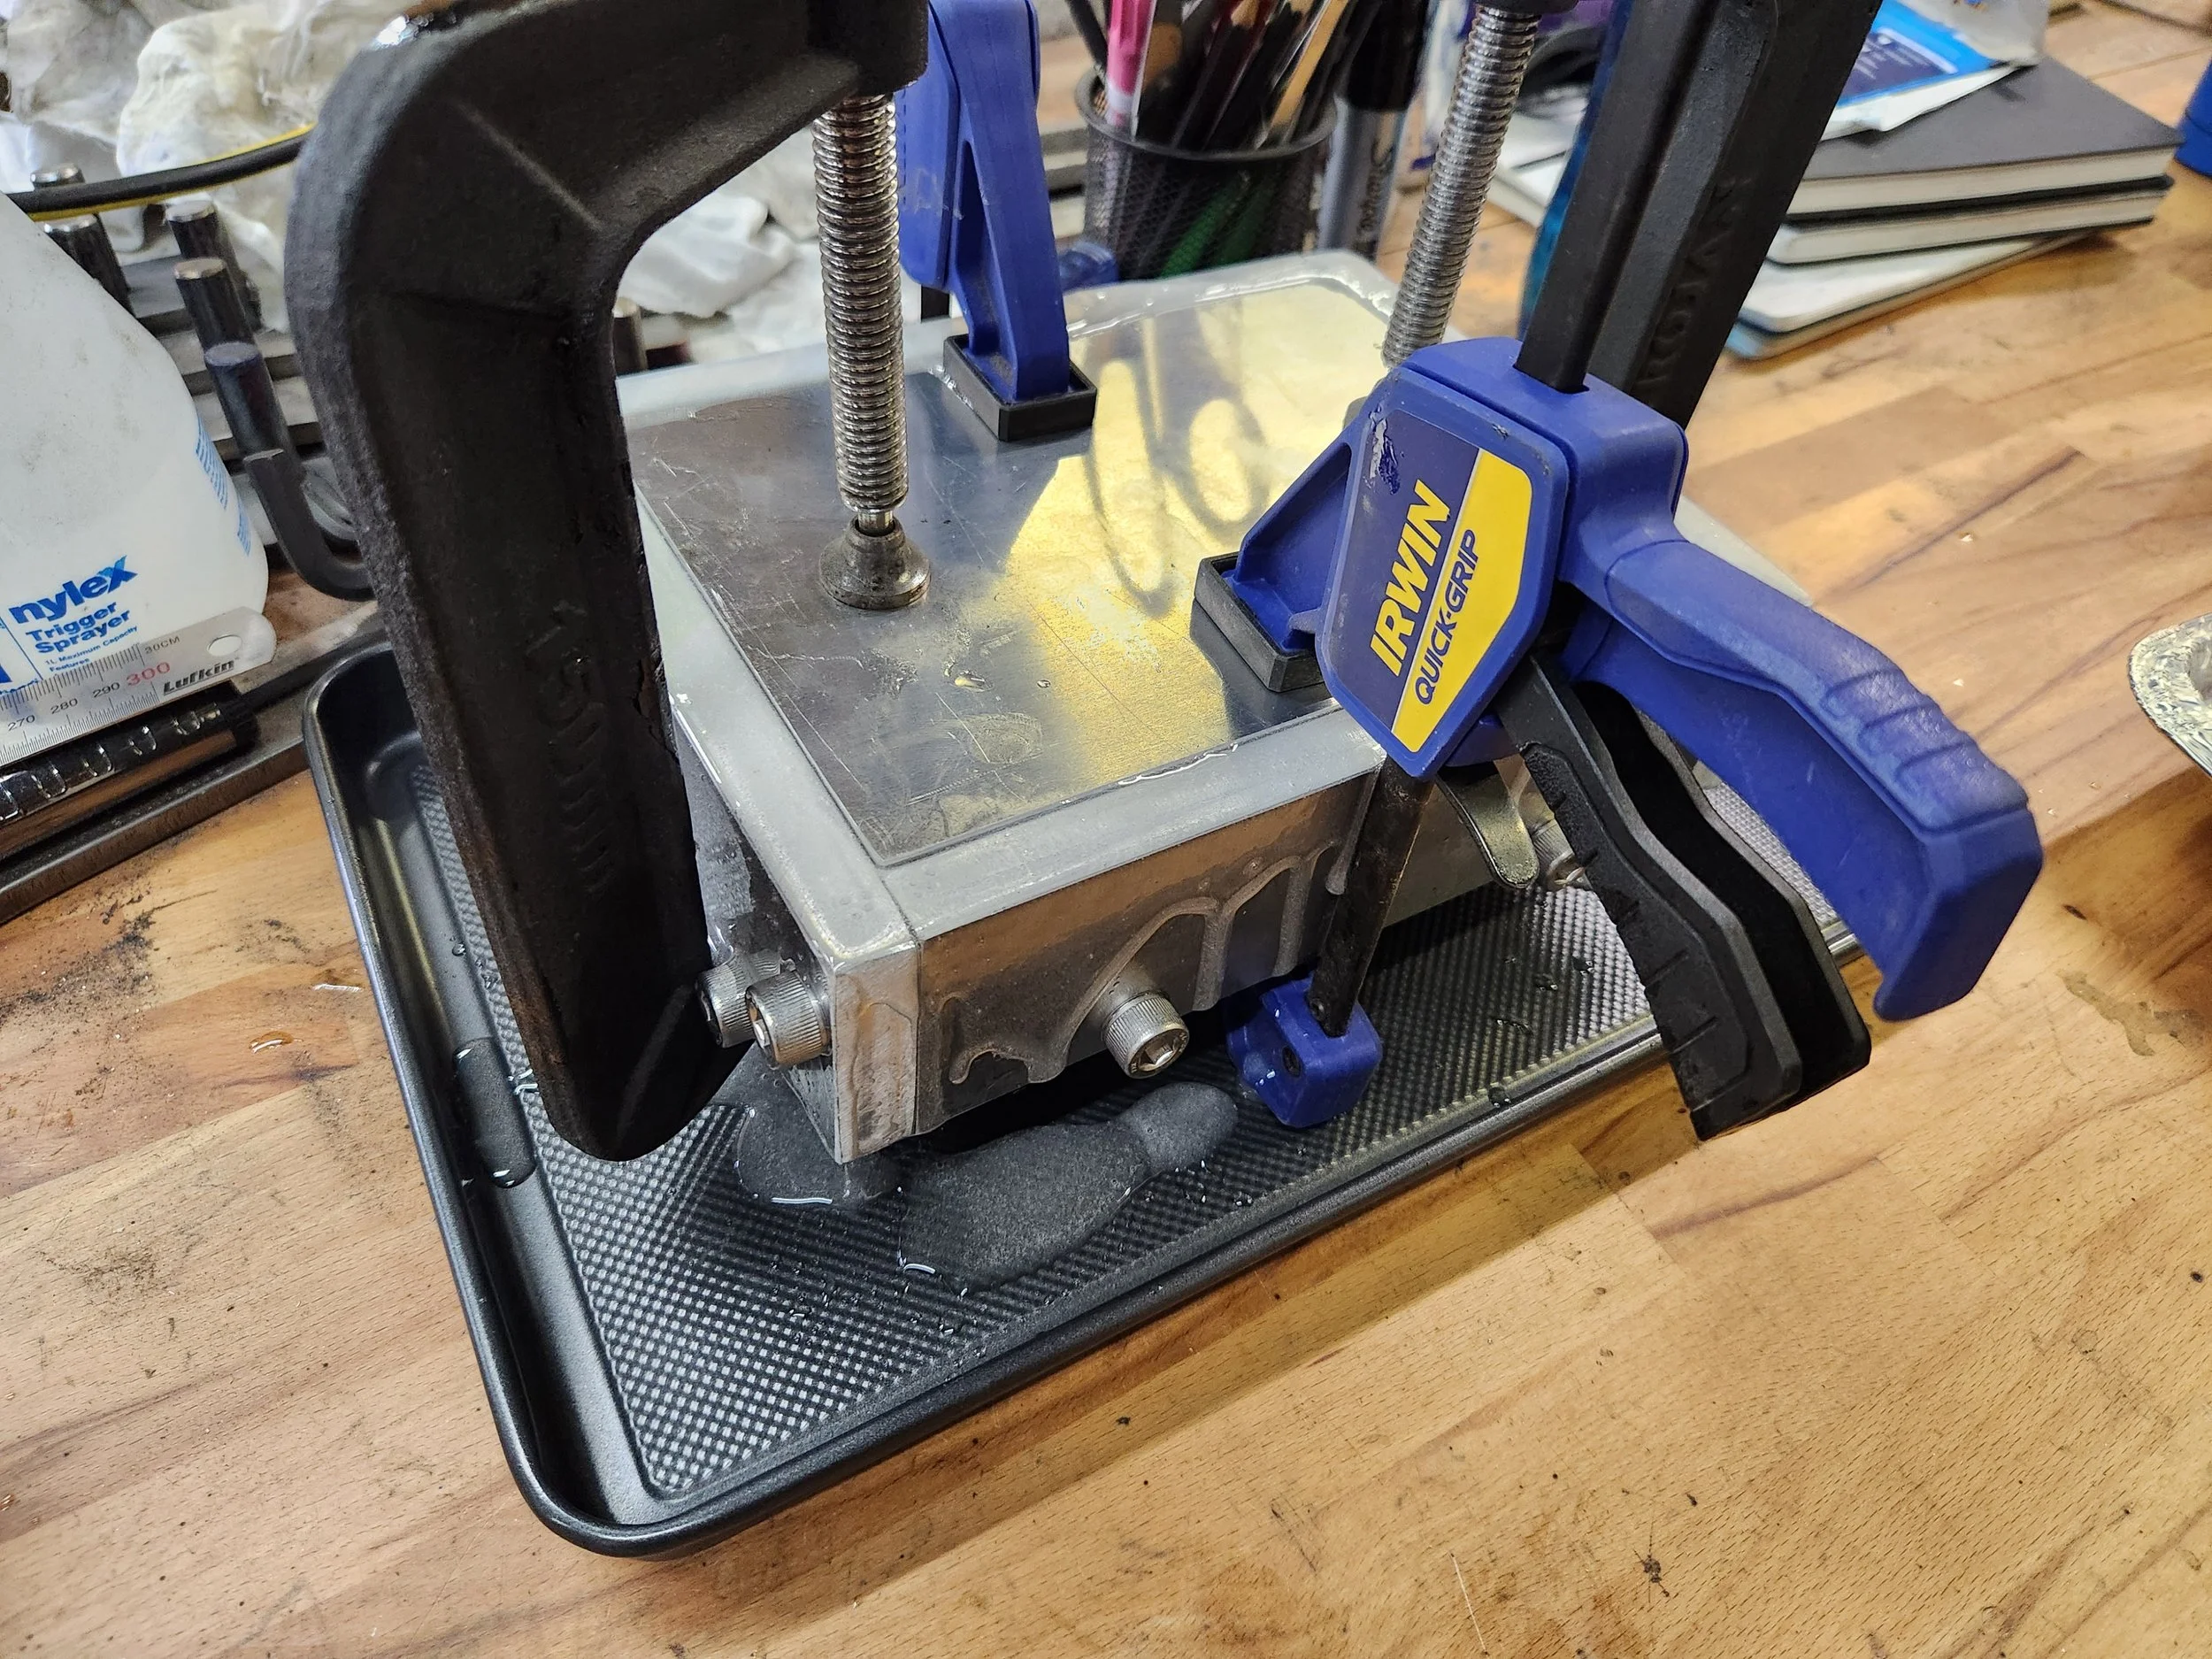


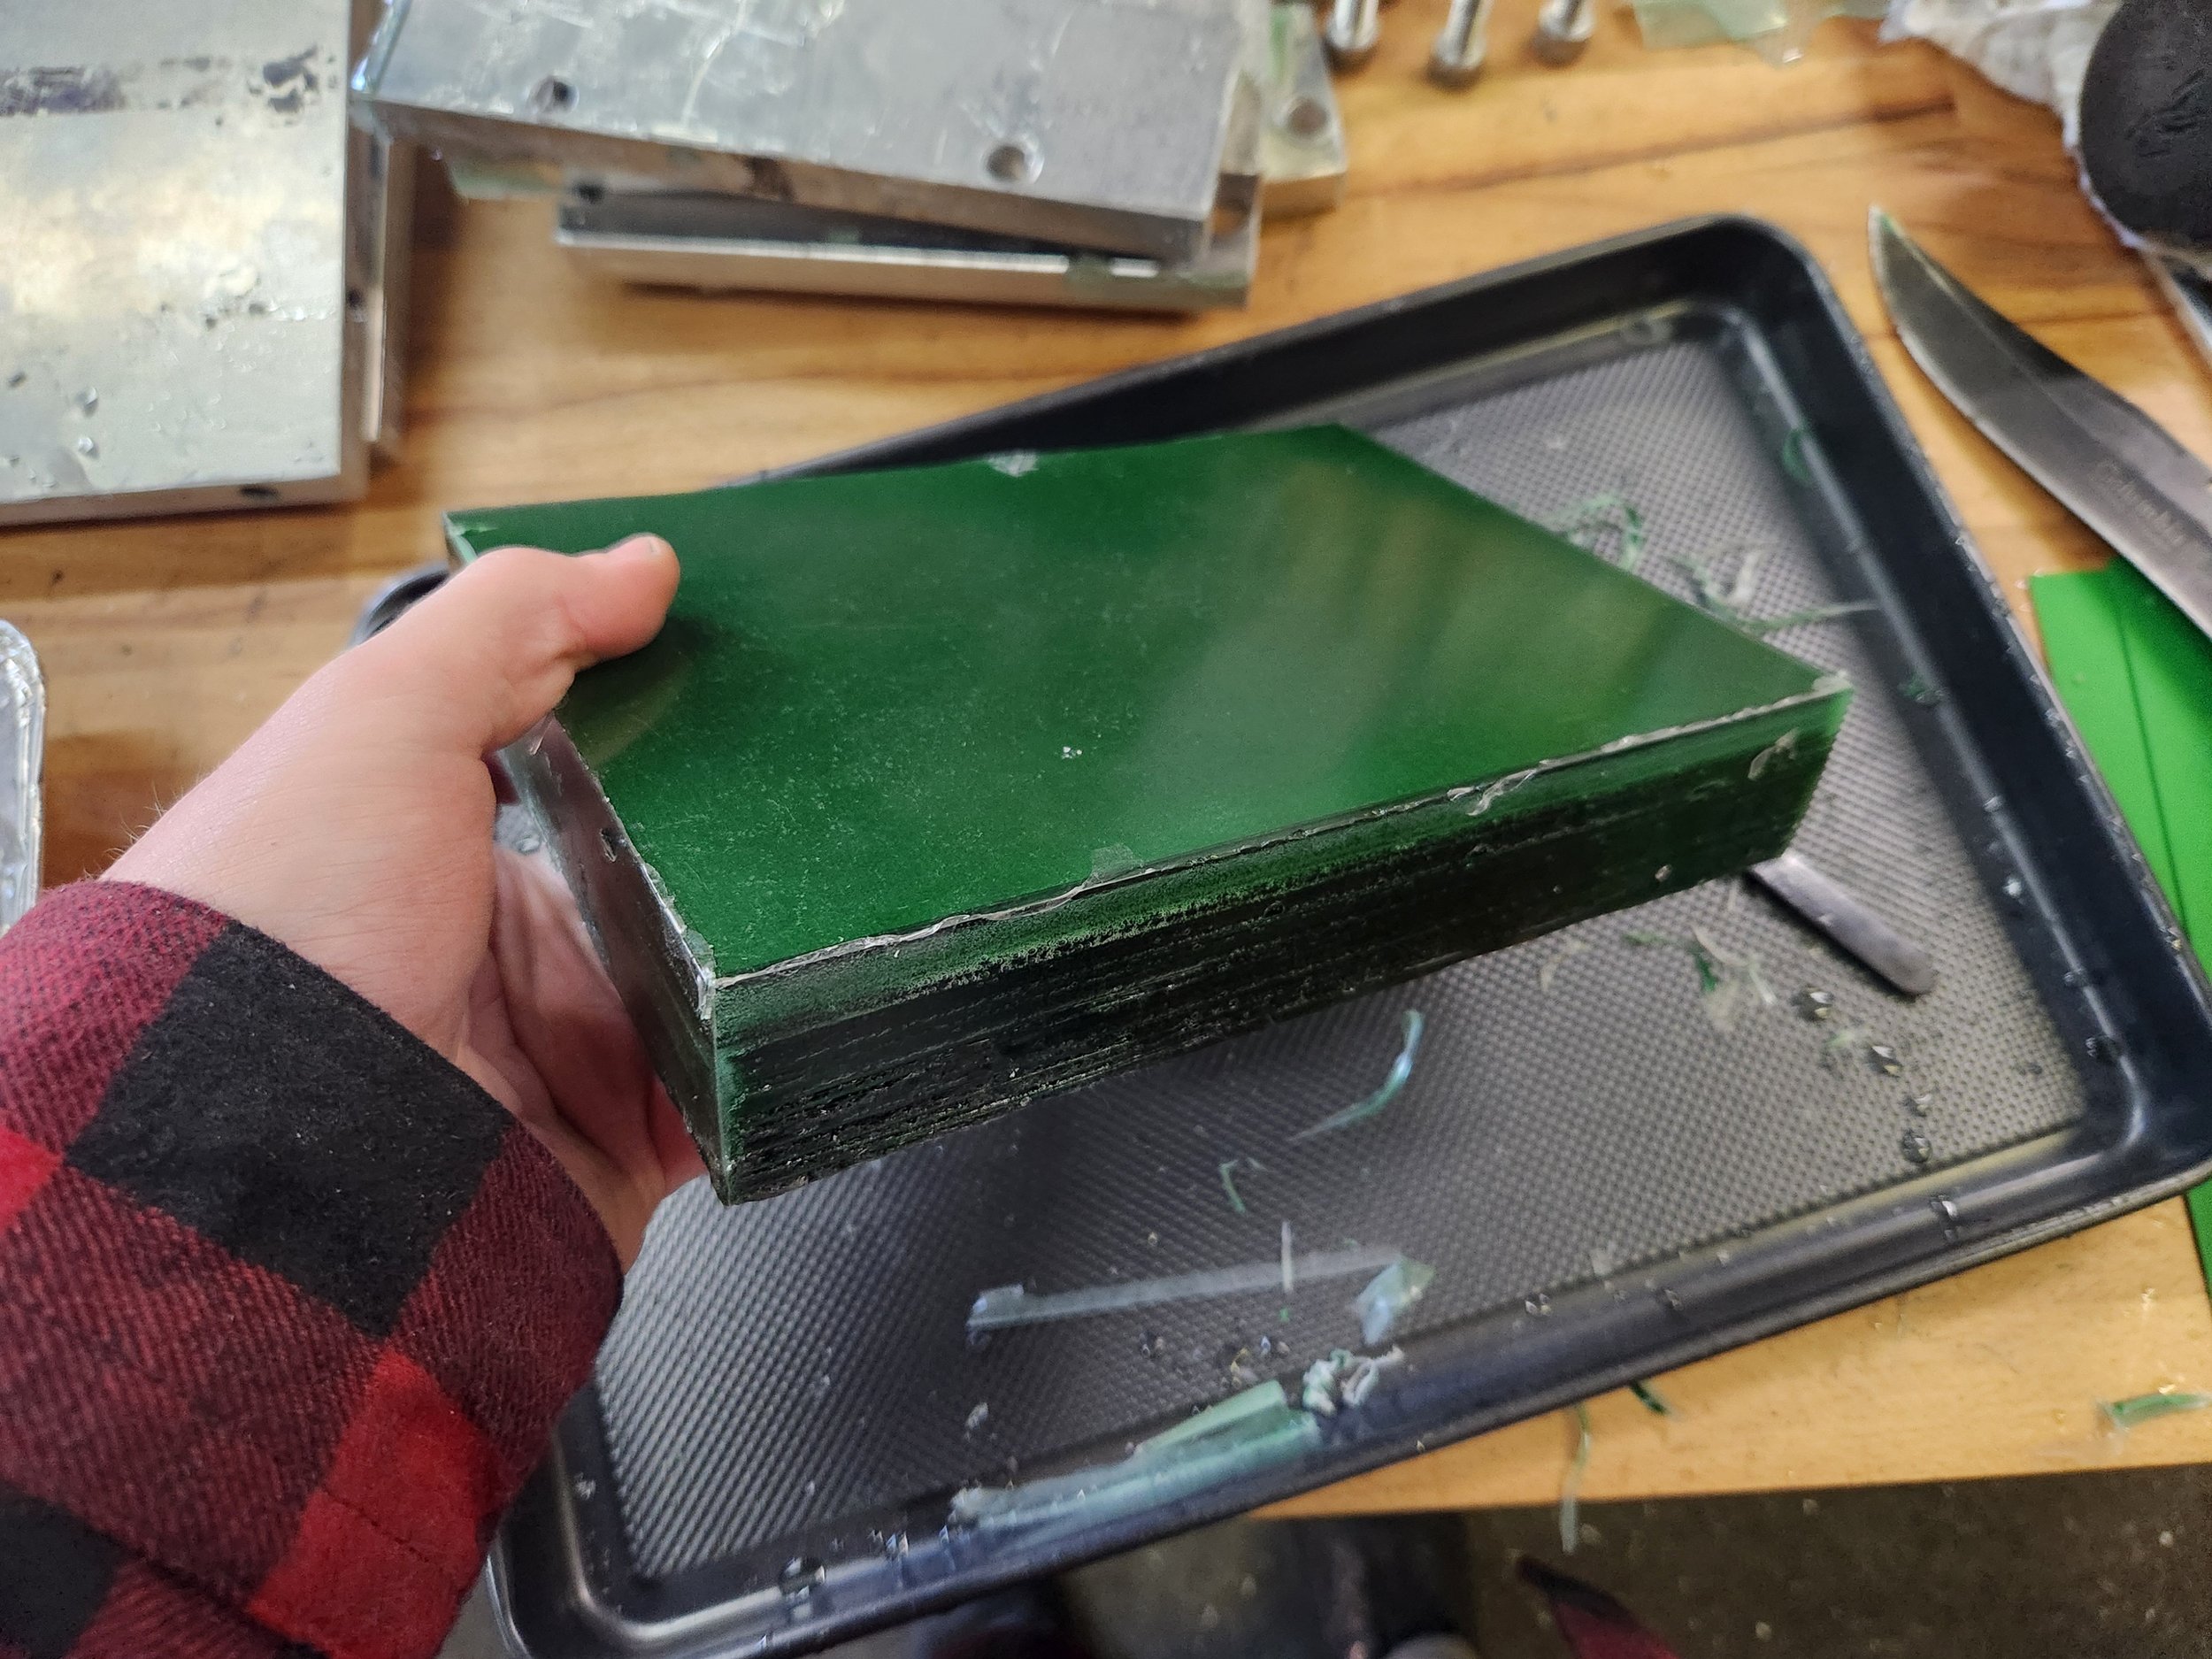
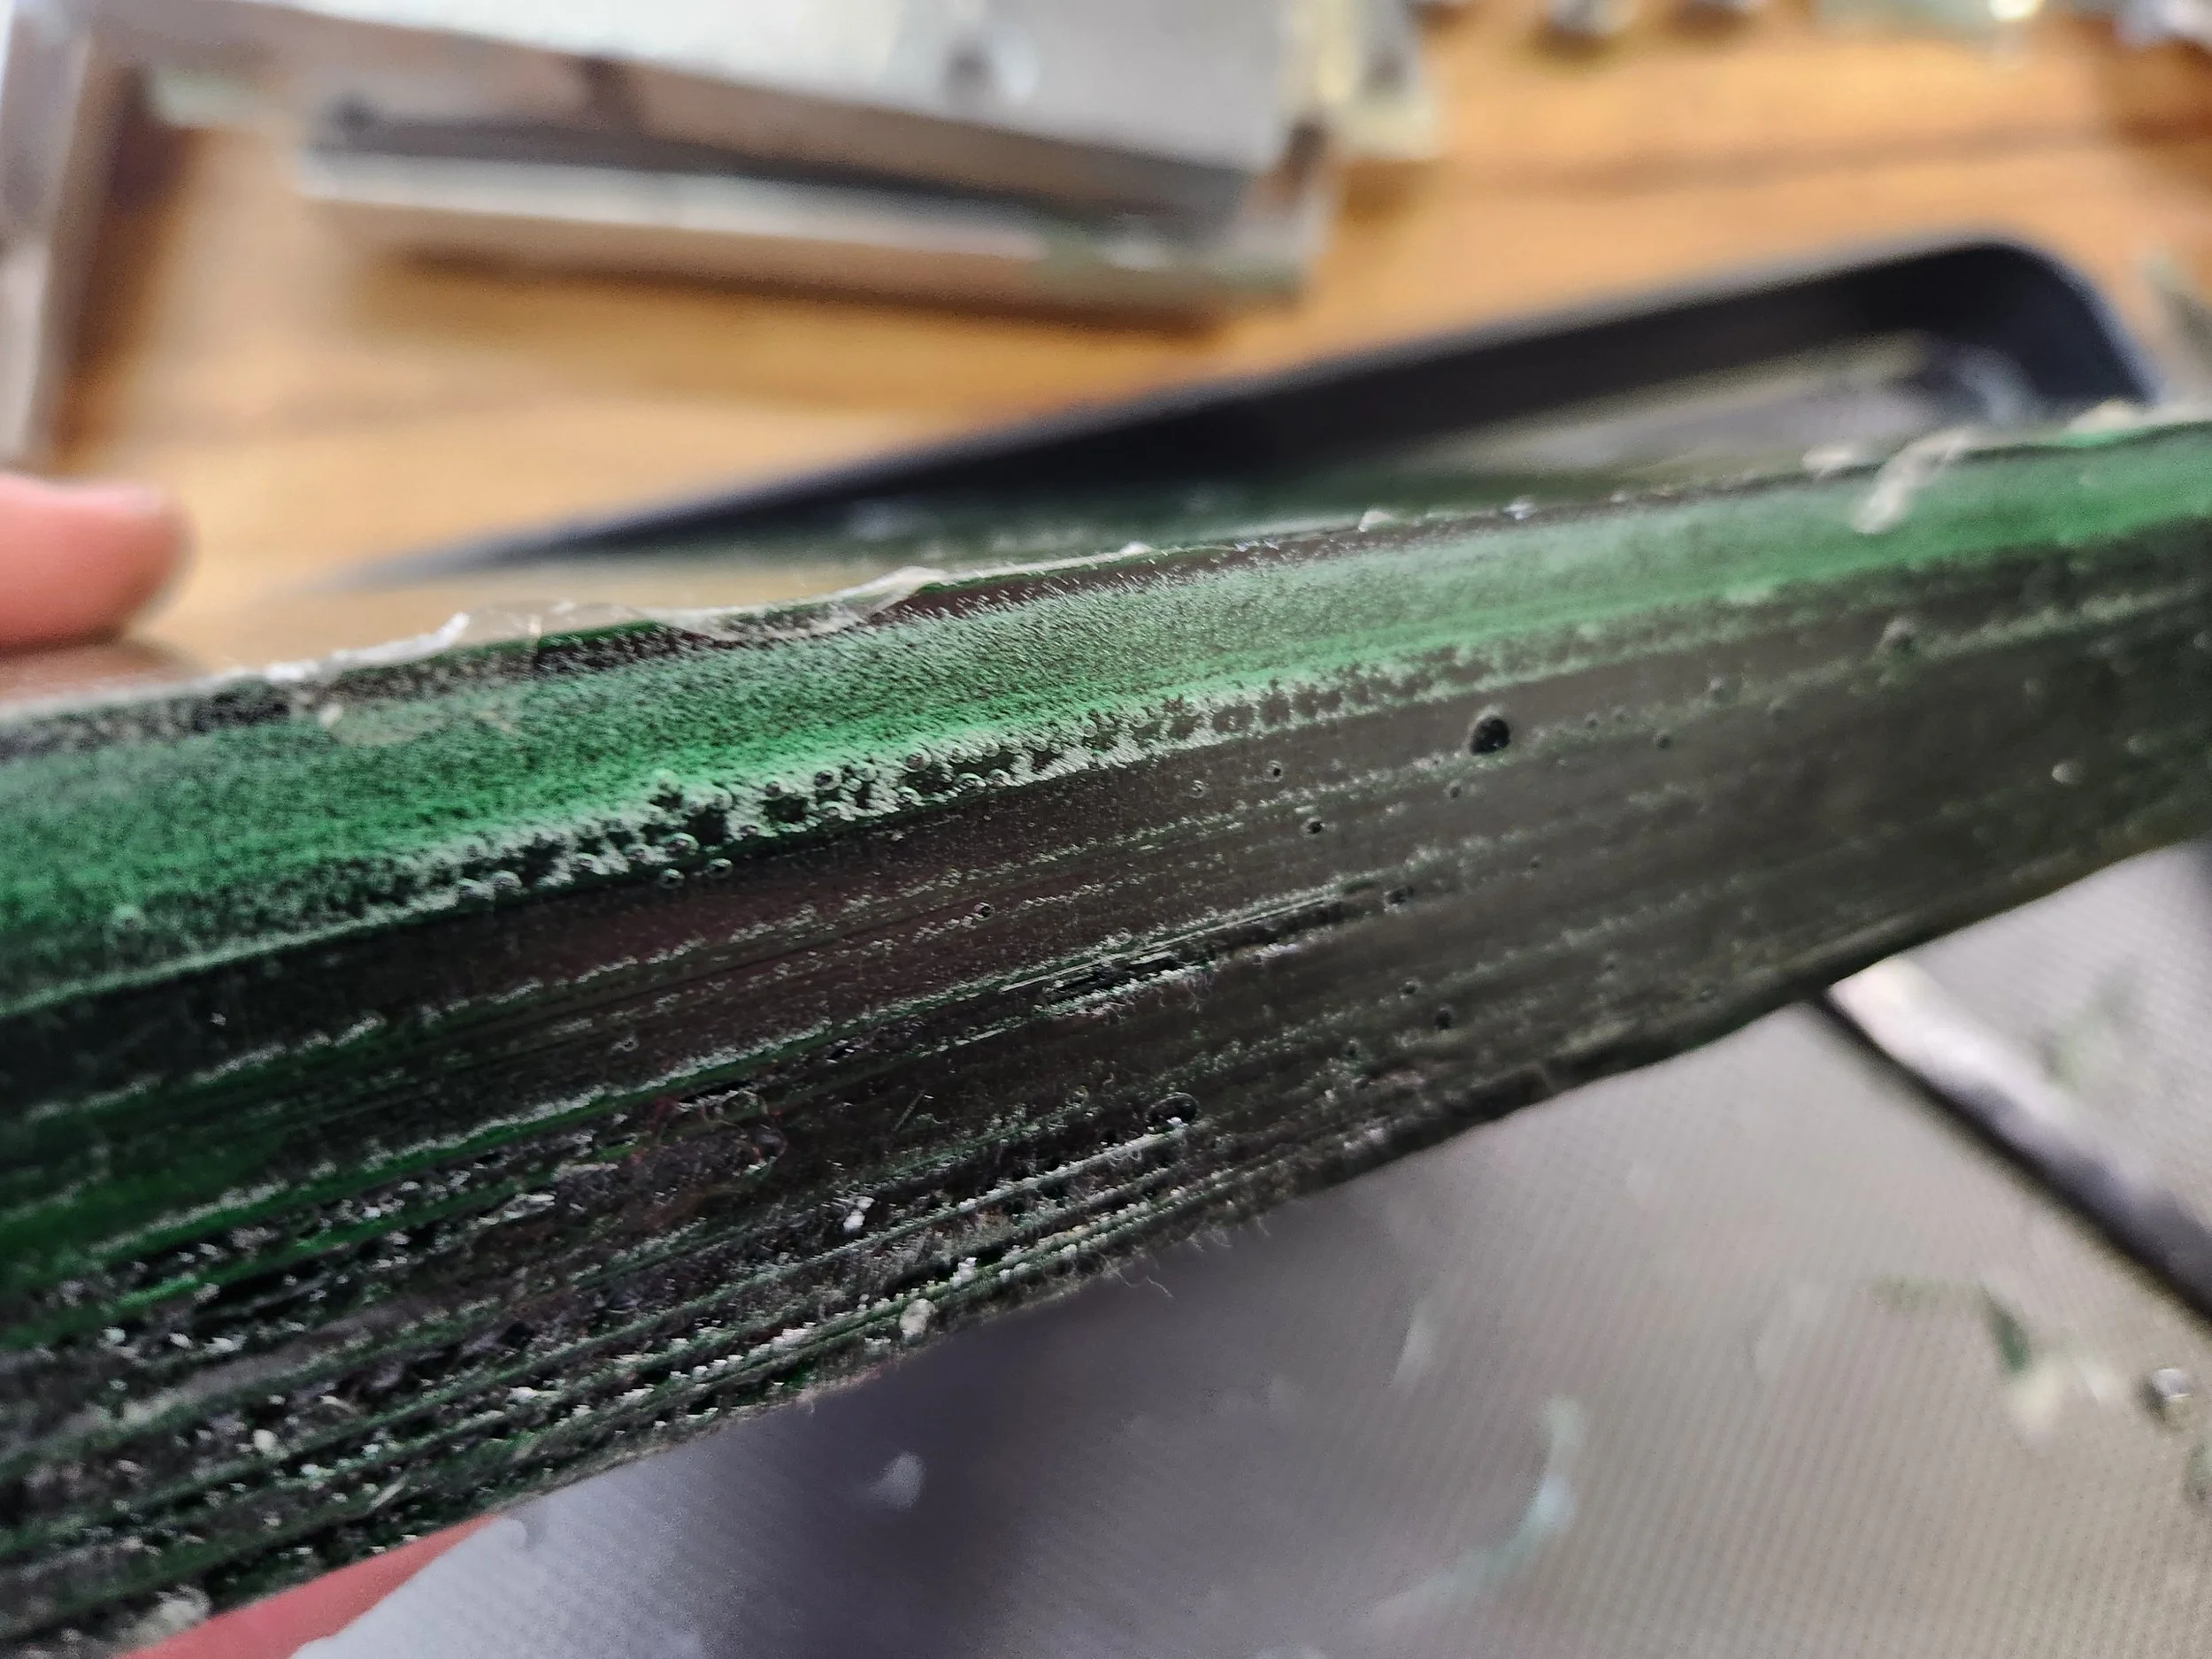
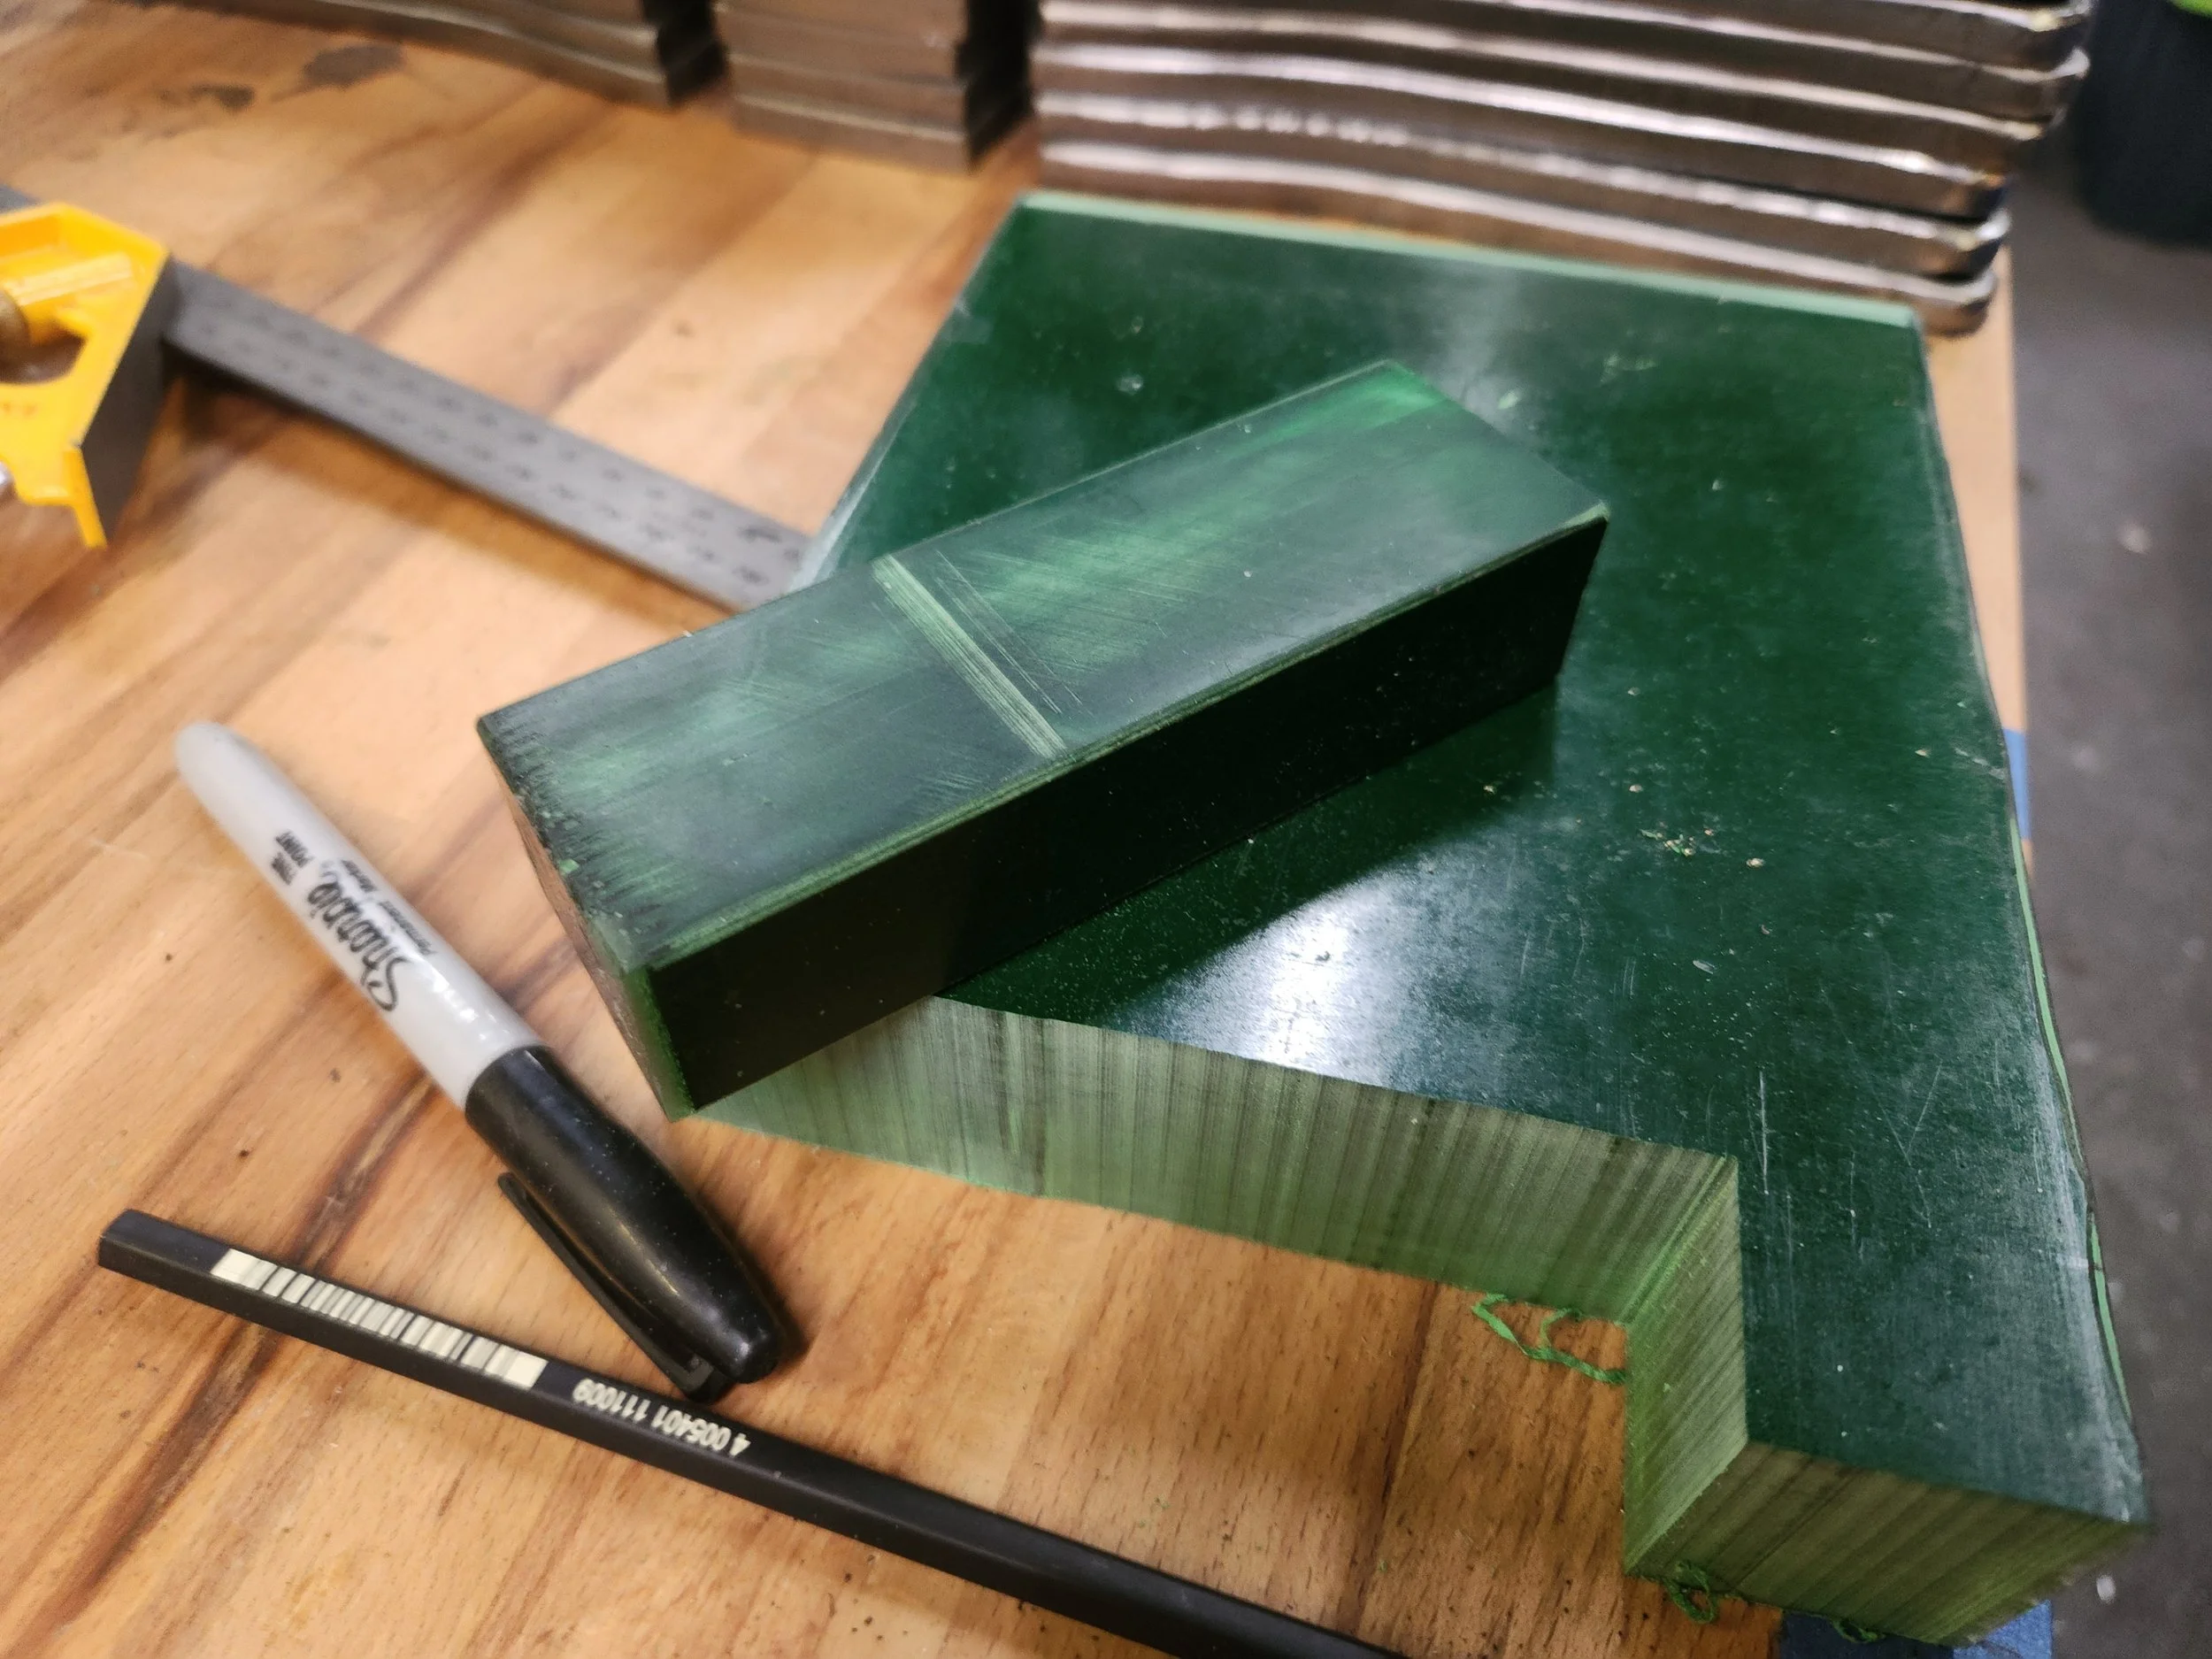
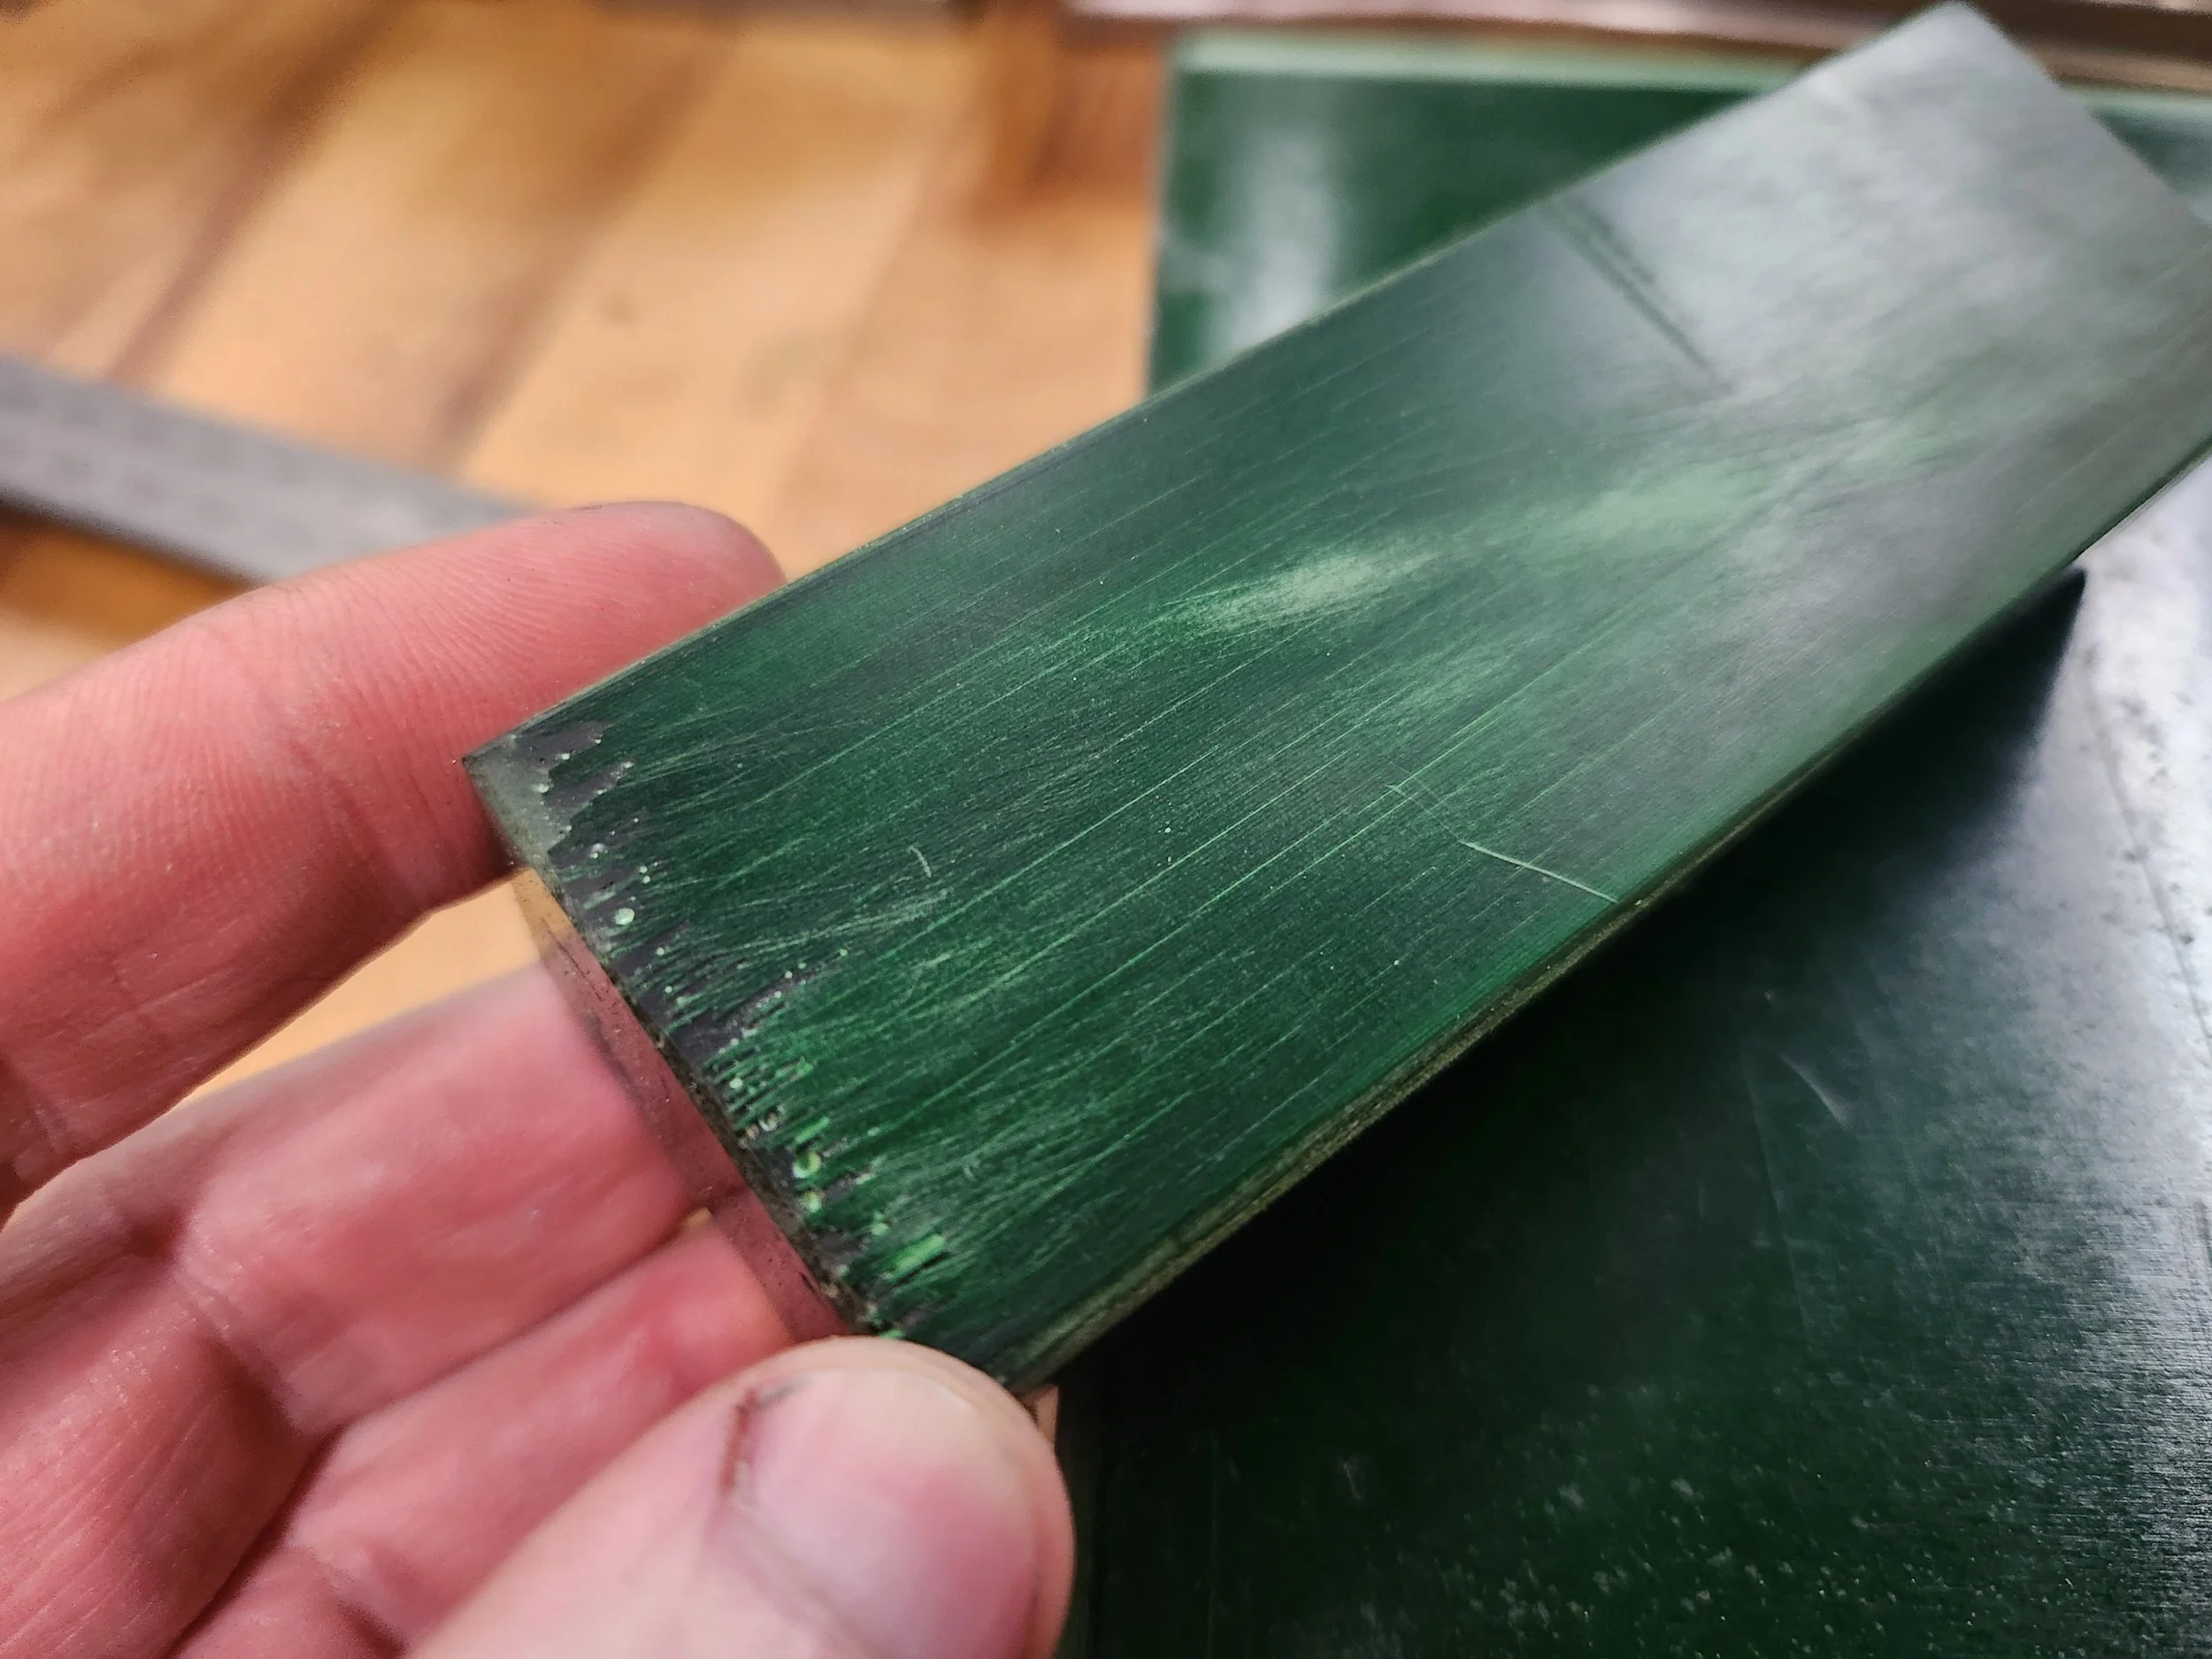
The end result? I’m happy with the tool and what it made. I’m not sure if I’d change anything in a future version, other than maybe taller walls for thicker material, but I think I can get away with overloading the current one a little bit if I really need to.
The chunk that I cut out above has some lines and varying material colours, but I believe that’s down to supplier quality control. After rough sanding at 120 grit and 400 grit, the final finish will be quite nice on a knife or tool handle.
On a chemical side note, did you know where epoxy and their resins come from? Most (typically) are made from by-products of petrochemical refining, and as such are able to influence and be influenced by alcohol and most petro-based dyes. This included the green dye from the emerald paper I used in the green batch. In the hour that it took me to do that material layup and press, the excess epoxy that squeezed out had already turned green. It actually ended up helping in the end as the overall slab turned a nice deep and rich shade of green and blended the lines together.
Something I think I need to keep in mind using this in the future is to make thinner blocks of micarta, and cut the handle material chunks so that the layer lines are parallel with the knife handle. It’s not the end of the world if the paper isn’t aligned, but it’d be stronger and look better if the handle material looked like it’s “grain” ran in the same plane as the knife material.
I’ll be making quite a bit more material in future with this micarta press, and if things go well I might make a few more and produce handle material and slabs for people. We’ll see.