Bandsaw Stand Files
Have you ever needed to make a clean bandsaw cut in metal? Do you want to spend thousands on a nice tool? I know I don’t, that’s why I went the same direction as many before me and turned to the portable bandsaw
The files below are designed to turn a portable bandsaw (like the one Vevor sells) into a vertical assembly. These files are made for a particular tool, but if you know what the offset for the guide rails are any bandsaw can be made to fit if you can modify the DXF’s.
The files are designed for metric, but can easily be made with imperial materials. 4mm steel becomes 1/8” or 3/16”, and 8/10mm becomes 3/8” or however thick of a top you want. Just make sure to leave enough thickness in the steel for the countersink to grab onto. M6 screws become 1/4”.
Parts supplied:
Top piece
Bottom piece
Feet .stl files, but could be purchased to not installed
Parts required:
6x M6x16 countersunk screws
Countersinking bit (zero flute/crosshole works, but 3 flute is better)
M6 tap and tap wrench
Allen wrenches
Bandsaw
All parts and some tools ready for the next step. The bottom piece has already been folded according to the fold lines in the supplied drawings.
First steps, countersinking.
The top plate has 4x countersunk holes, with the screws made flush to the surface. The bottom plate has 2x holes countersunk to flush form top down
All 8x of the 4.8mm holes on the bottom plate need to be tapped M6x1mm.
The mounting bar also needs to be cut in half deburred, to make 2 separate T-nuts. You could also make your own T-nut bar if you didn’t want to use these.
Now we’re ready for assembly.
So far I’ve found the easiest way to put it all together is to place the T-nuts near their final positions in the slot, and hold the bandsaw with one hand under the bottom plate.
Using a 4mm Allen key, locate the first T-nut near the hole and hand screw an M6x1 bolt in just a few threads. The machine can now be gently manoeuvred in air while you align the other T-nut using the Allen key and insert the other screw.
Tighten both screws slowly to keep their alignment until seated properly.
Noe that the core of the machine is ready, it’s time to put the blade on.
The process is mostly the same as putting a blade on normally, except that you have the loop the blade under the left feet of the stand. Manufacturers instructions should be followed on safe installation of the blade, and the blade guard should be fitted whenever the machine is operating.
The top plate can now be fitted with the last 4x remaining M6x16 screws. If the countersinking isn’t deep enough, these ones are relatively easy to modify until they’re flush or just below the surface. This is important to make sure nothing catches on them.
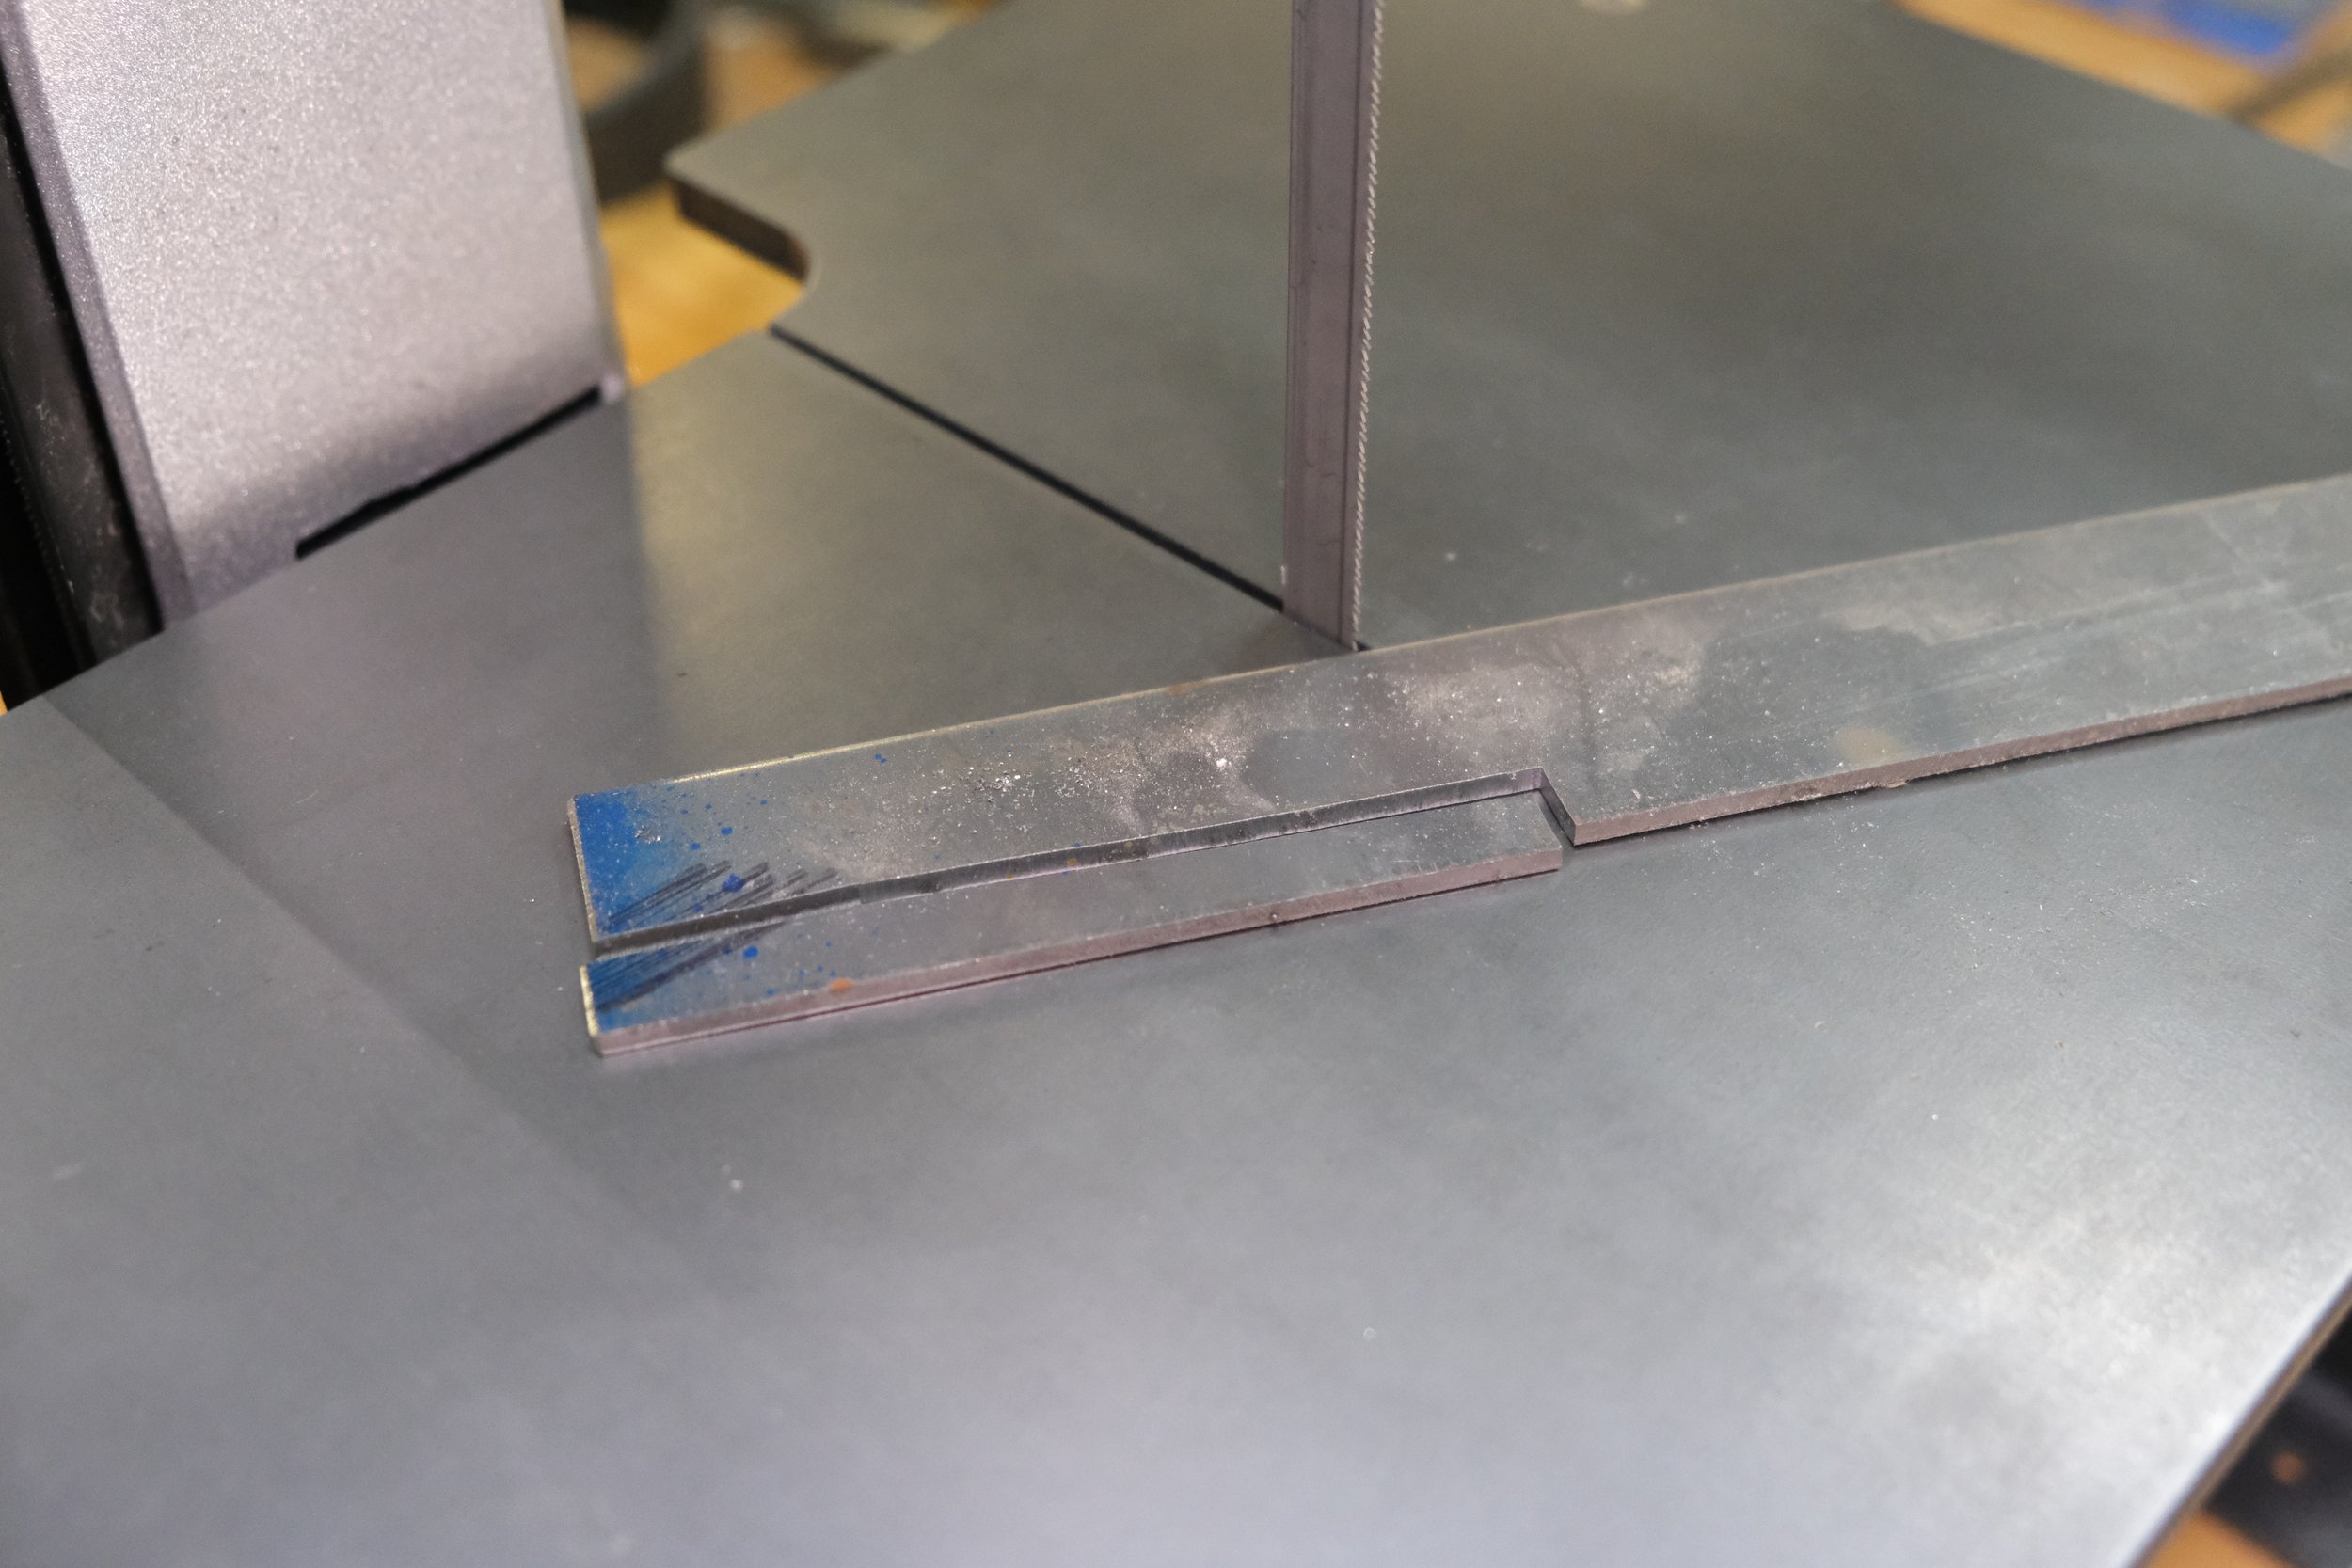
If you’ve made it this far, you’re ready to start cutting! Since these photos were taken, I’ve installed a safety E-stop and a power switch. Please be careful with something like this. It may not move quickly, but it has a lot of torque and many tiny teeth. This is not a toy, it is a tool.
As for finishing I softened all edges with a #2 and #3 file as I like the finish they produce, and all threaded holes were countersunk slightly before and after tapping to clean them up. The surface finish is Renaissance Wax applied hot (heated the steel with a blow torching until all moisture is gone) with a rag and buffed back out. This finish won’t last forever, but it’s a great start and it evens out the finish nicely while protecting the base material.
Addendum: these files are only designed for the bandsaw type in the pictures above, but with a little bit of knowhow and some elbow grease, these plans could be easily modified to match most other bandsaws.


